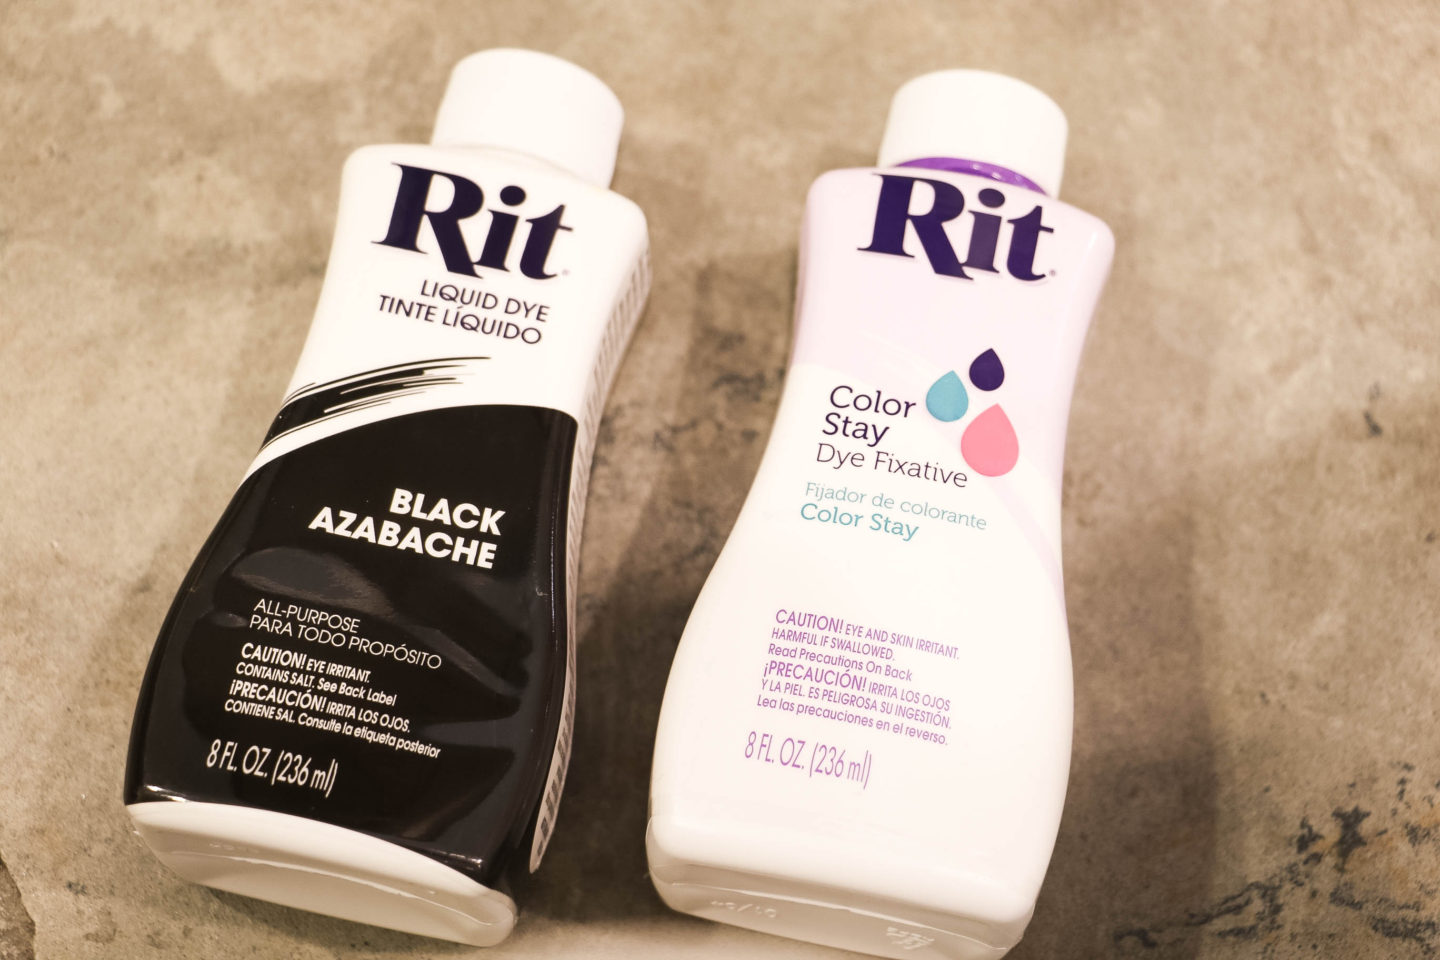
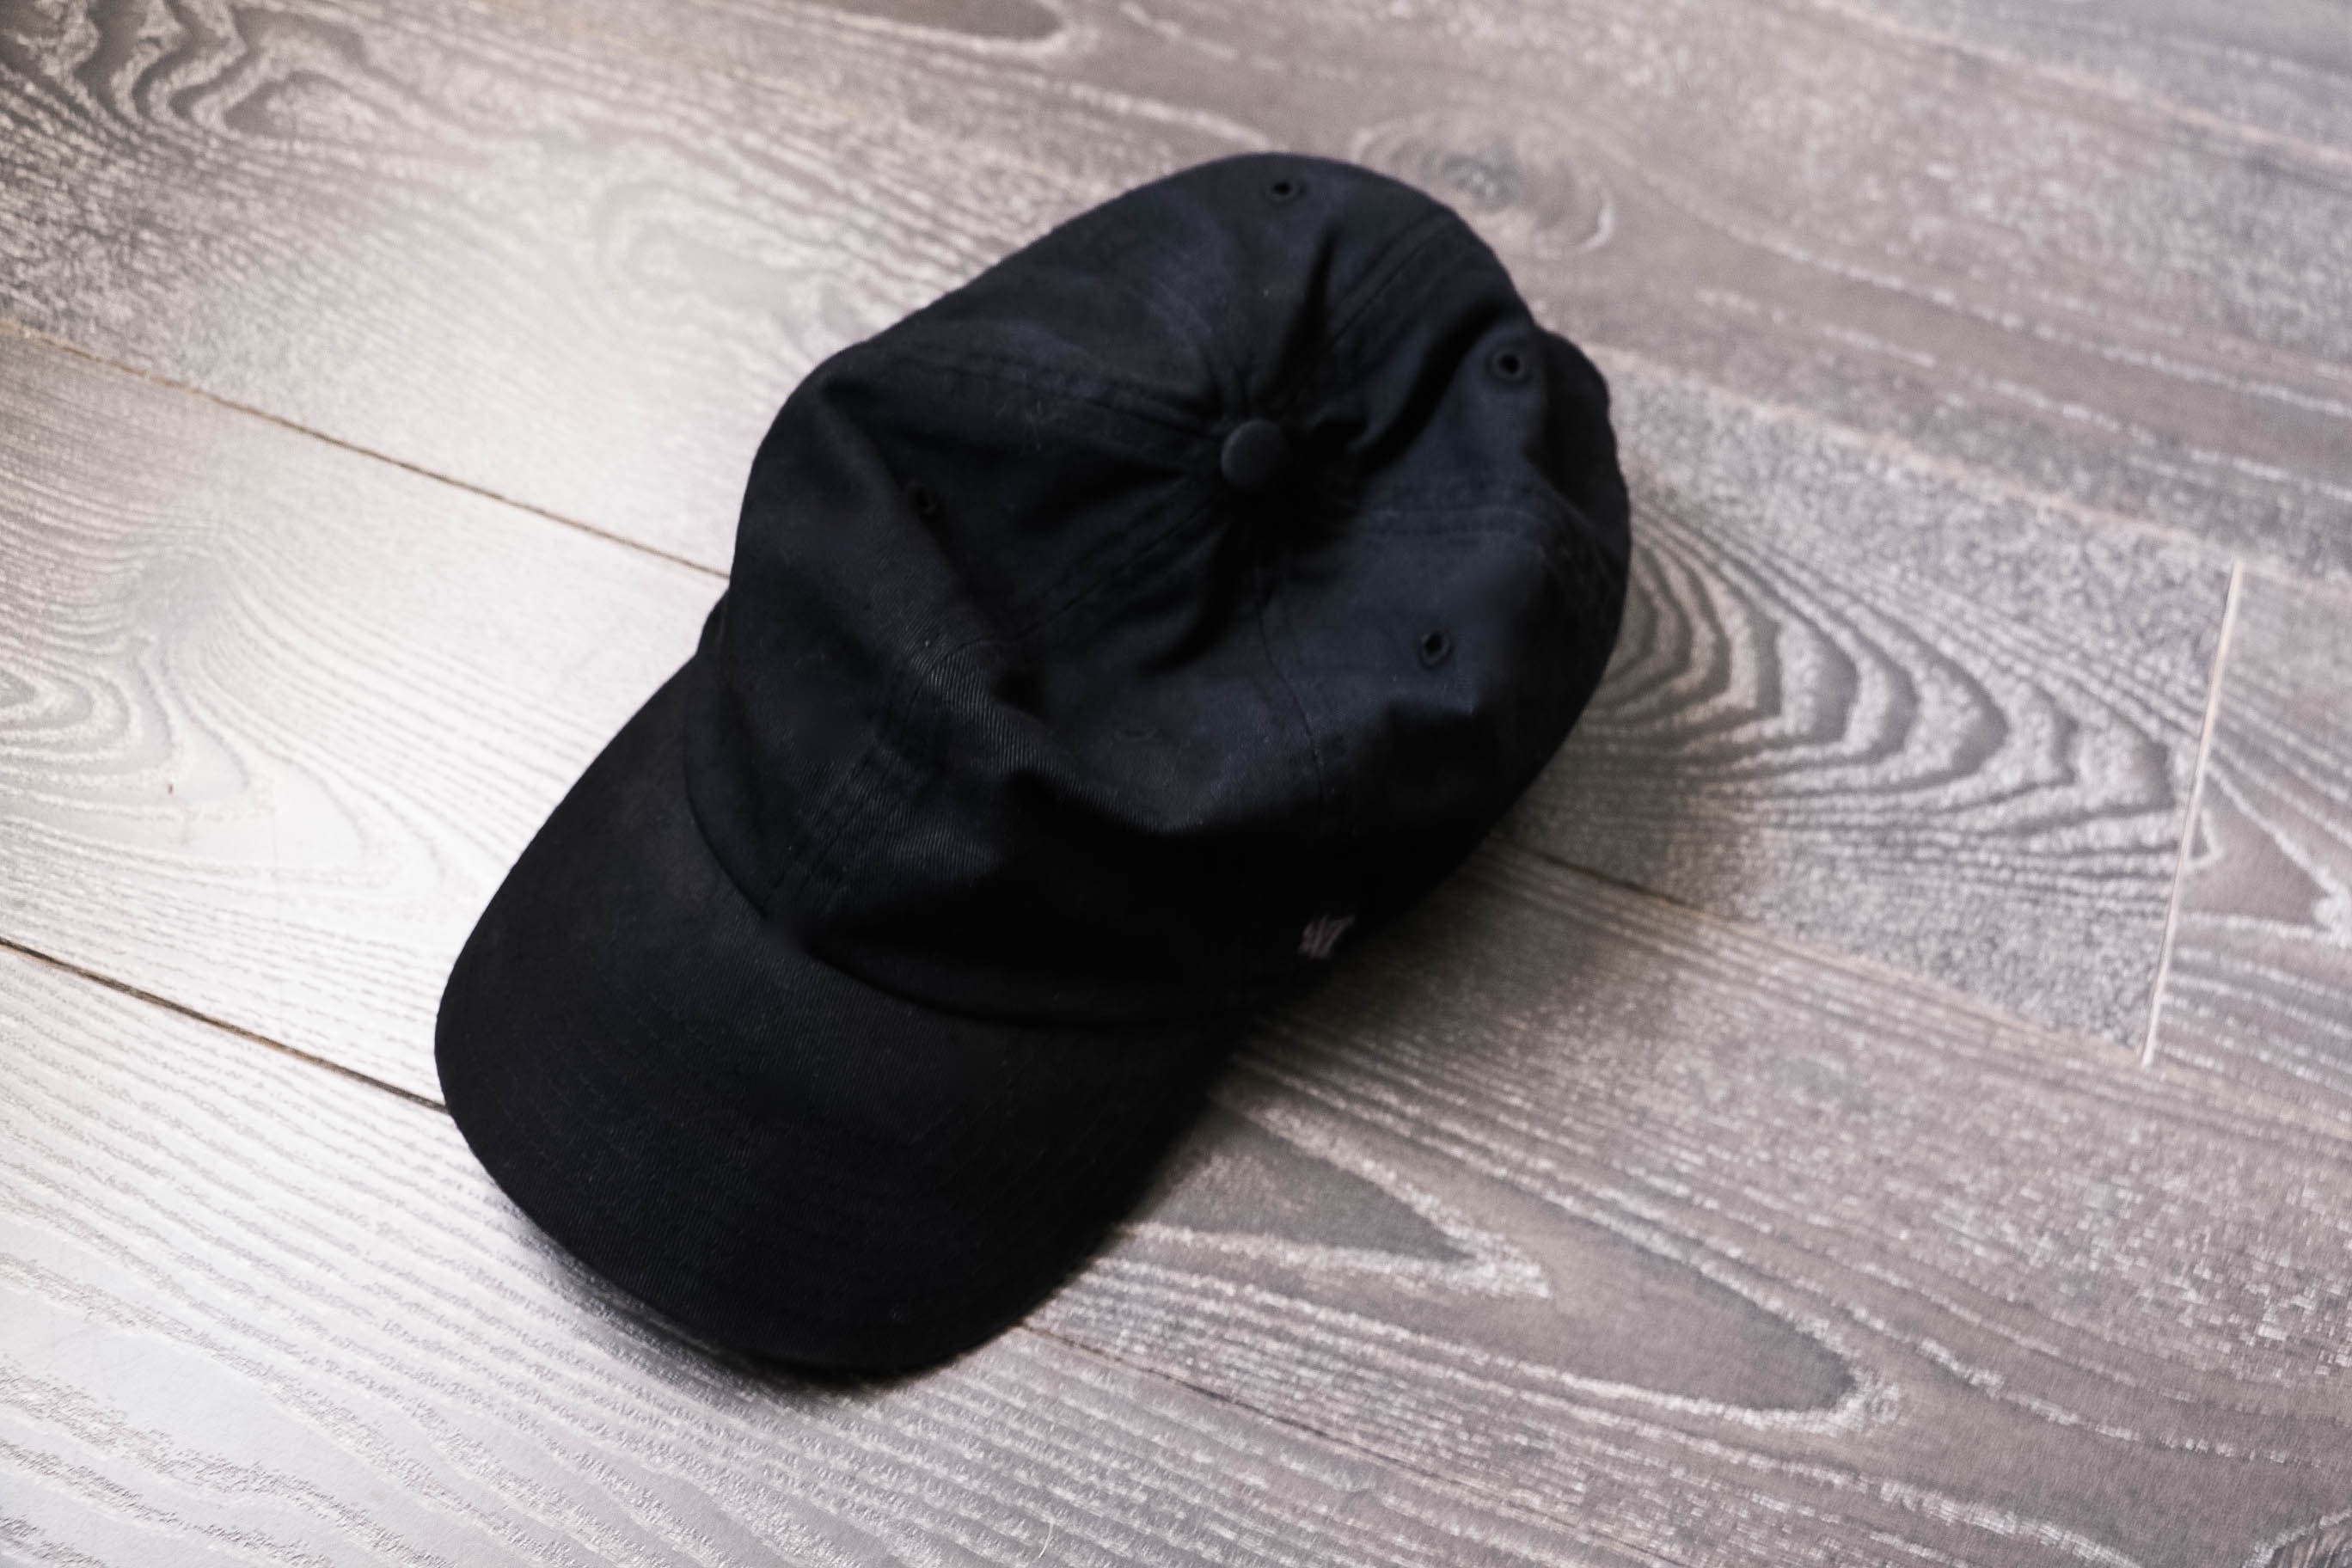
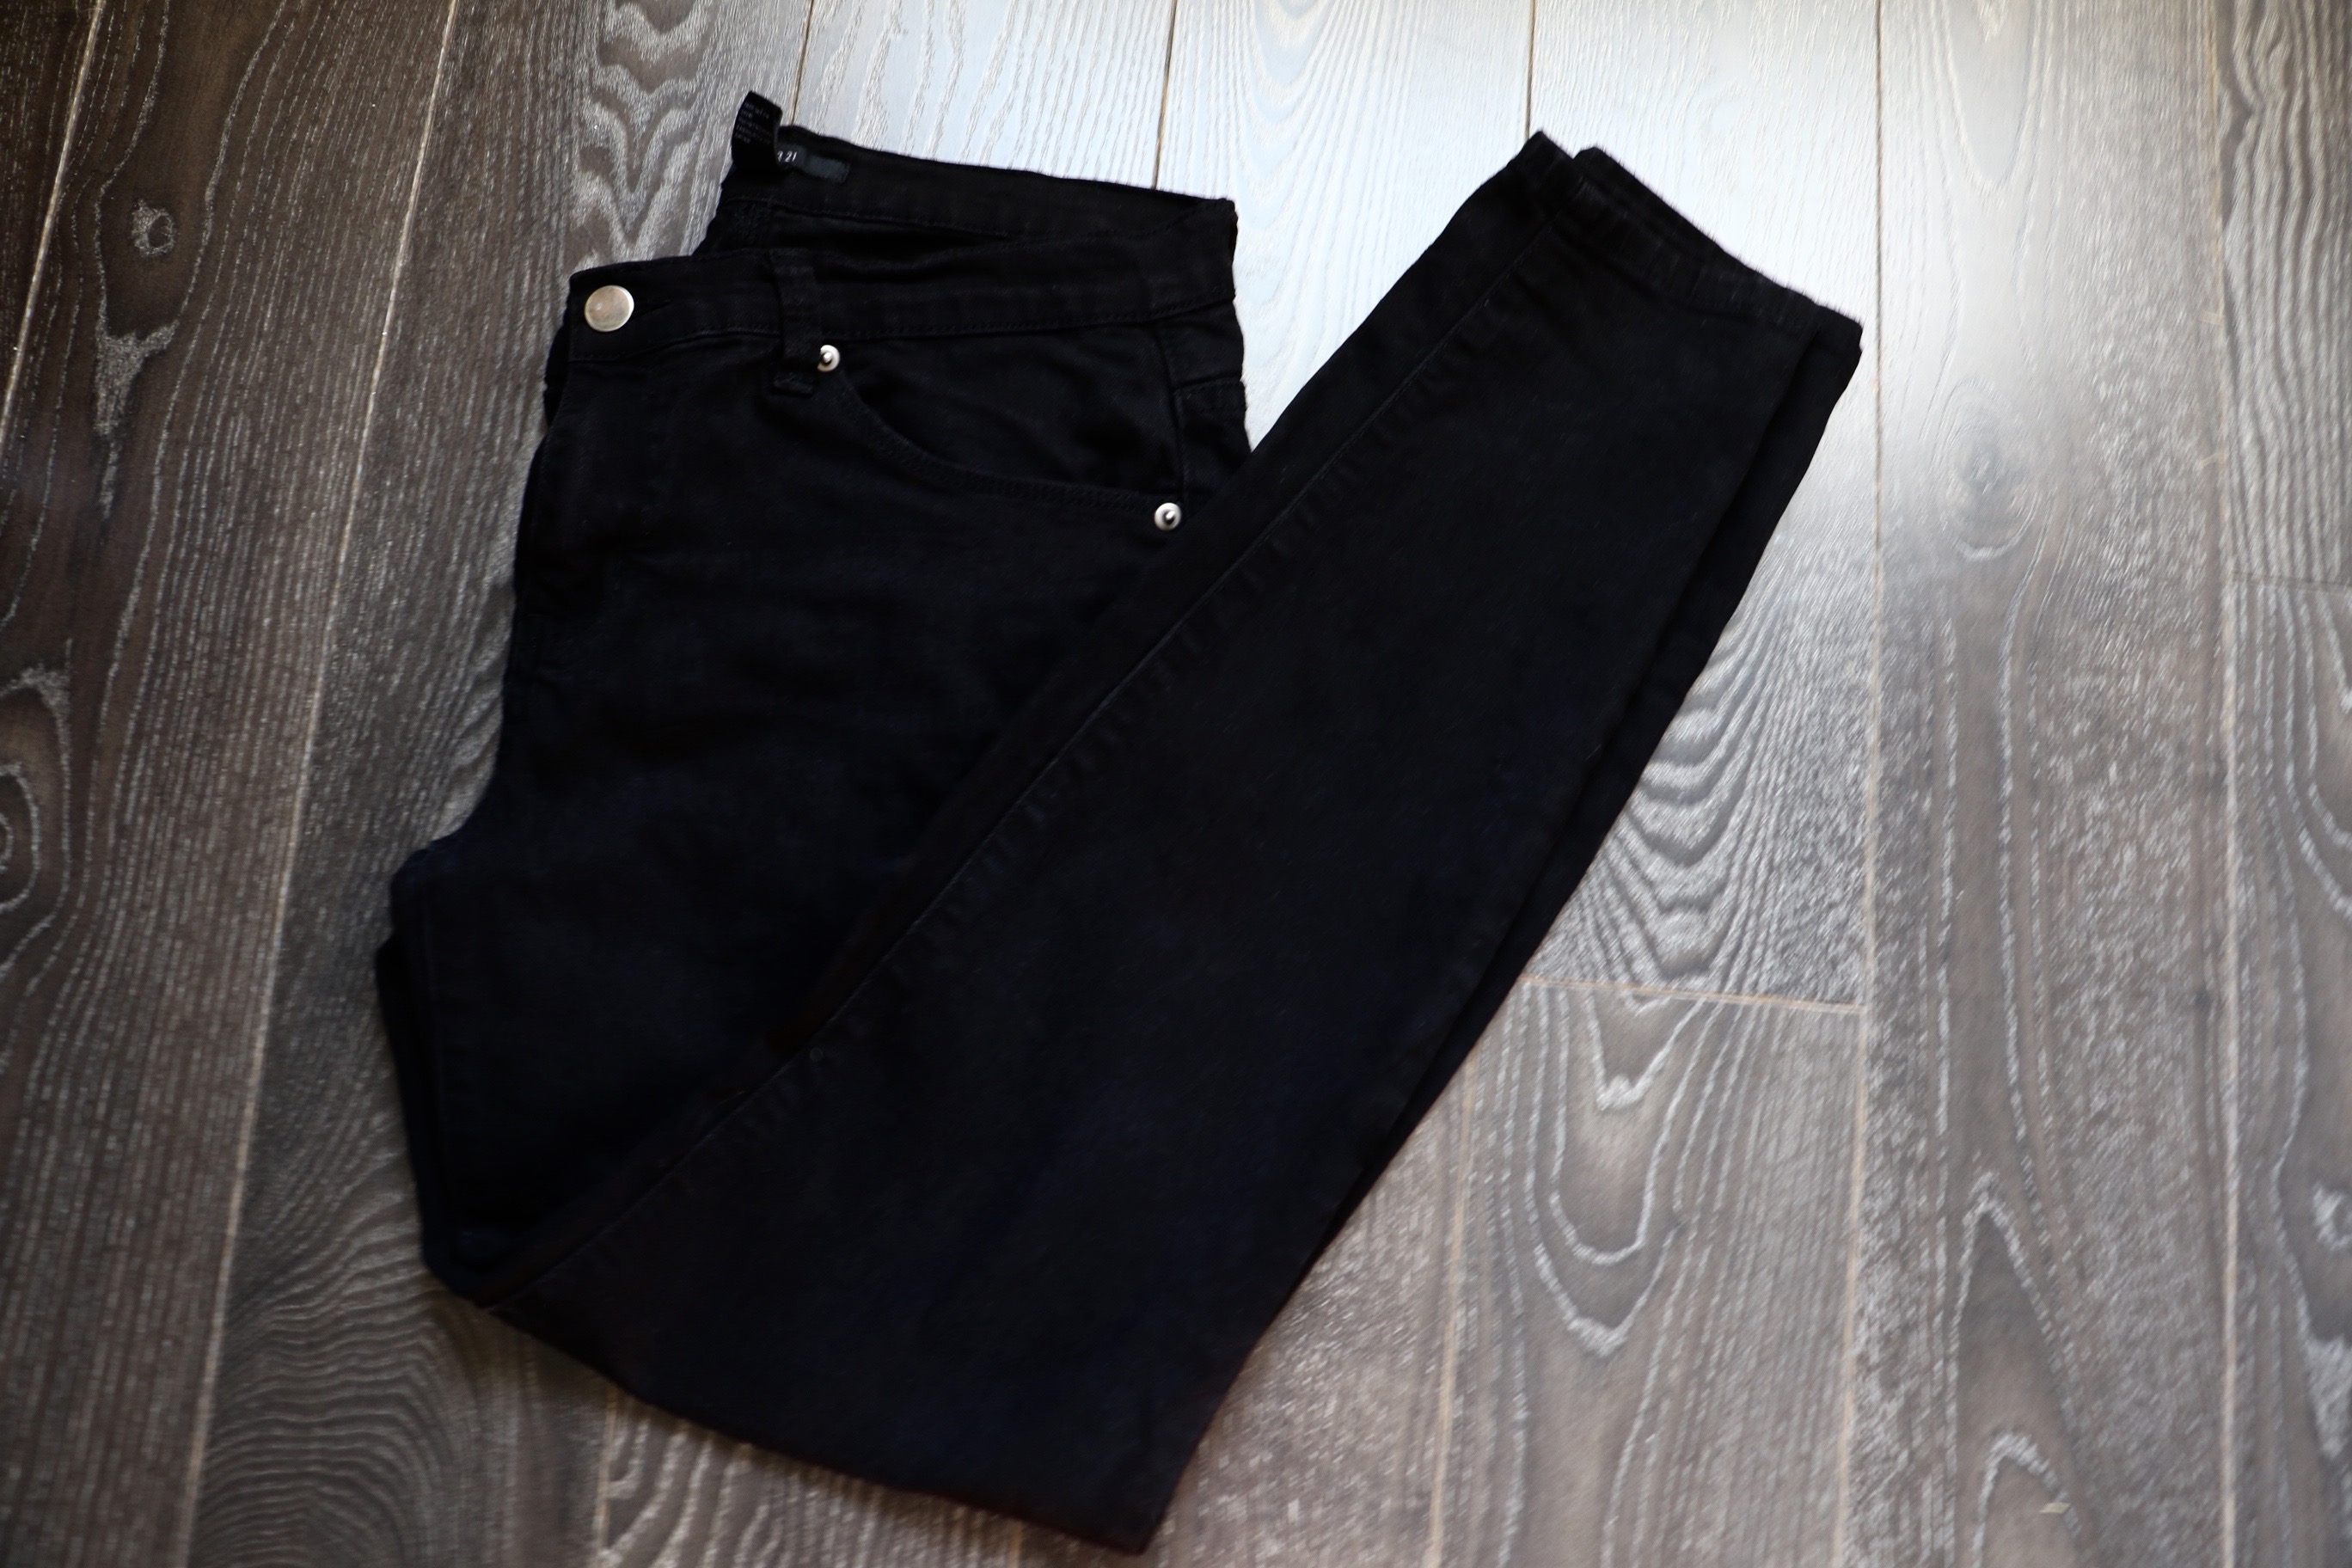
Hello, today I’m sharing a really cool project I worked on to help bring back these clothes to life. Have you ever owned a piece of clothing that you just wore over and over again until the color faded? Well, I have a few pieces like that and with Rit Dye I was able to bring them back to life! I have to admit I am not the craftiest, but with Rit Dye, I was able to easily do this project. I thought it was going to be harder, but the steps are easy and the clothes came out so vibrant! I worked on bringing back to life my favorite pair of black pants, some yoga pants, and a black cap. The colors were already faded, and of course you can’t go wrong with black. I have so many black clothing items and when you love it you can’t help but wear it over and over. The color of course fades over time but with the dyes you can easily bring back the color into your favorite pieces. Not only can you re-dye the clothes the same color, but you can also do so many other DIY projects. They can range from home décor to recoloring old pieces.
SUPPLIES & TOOLS:
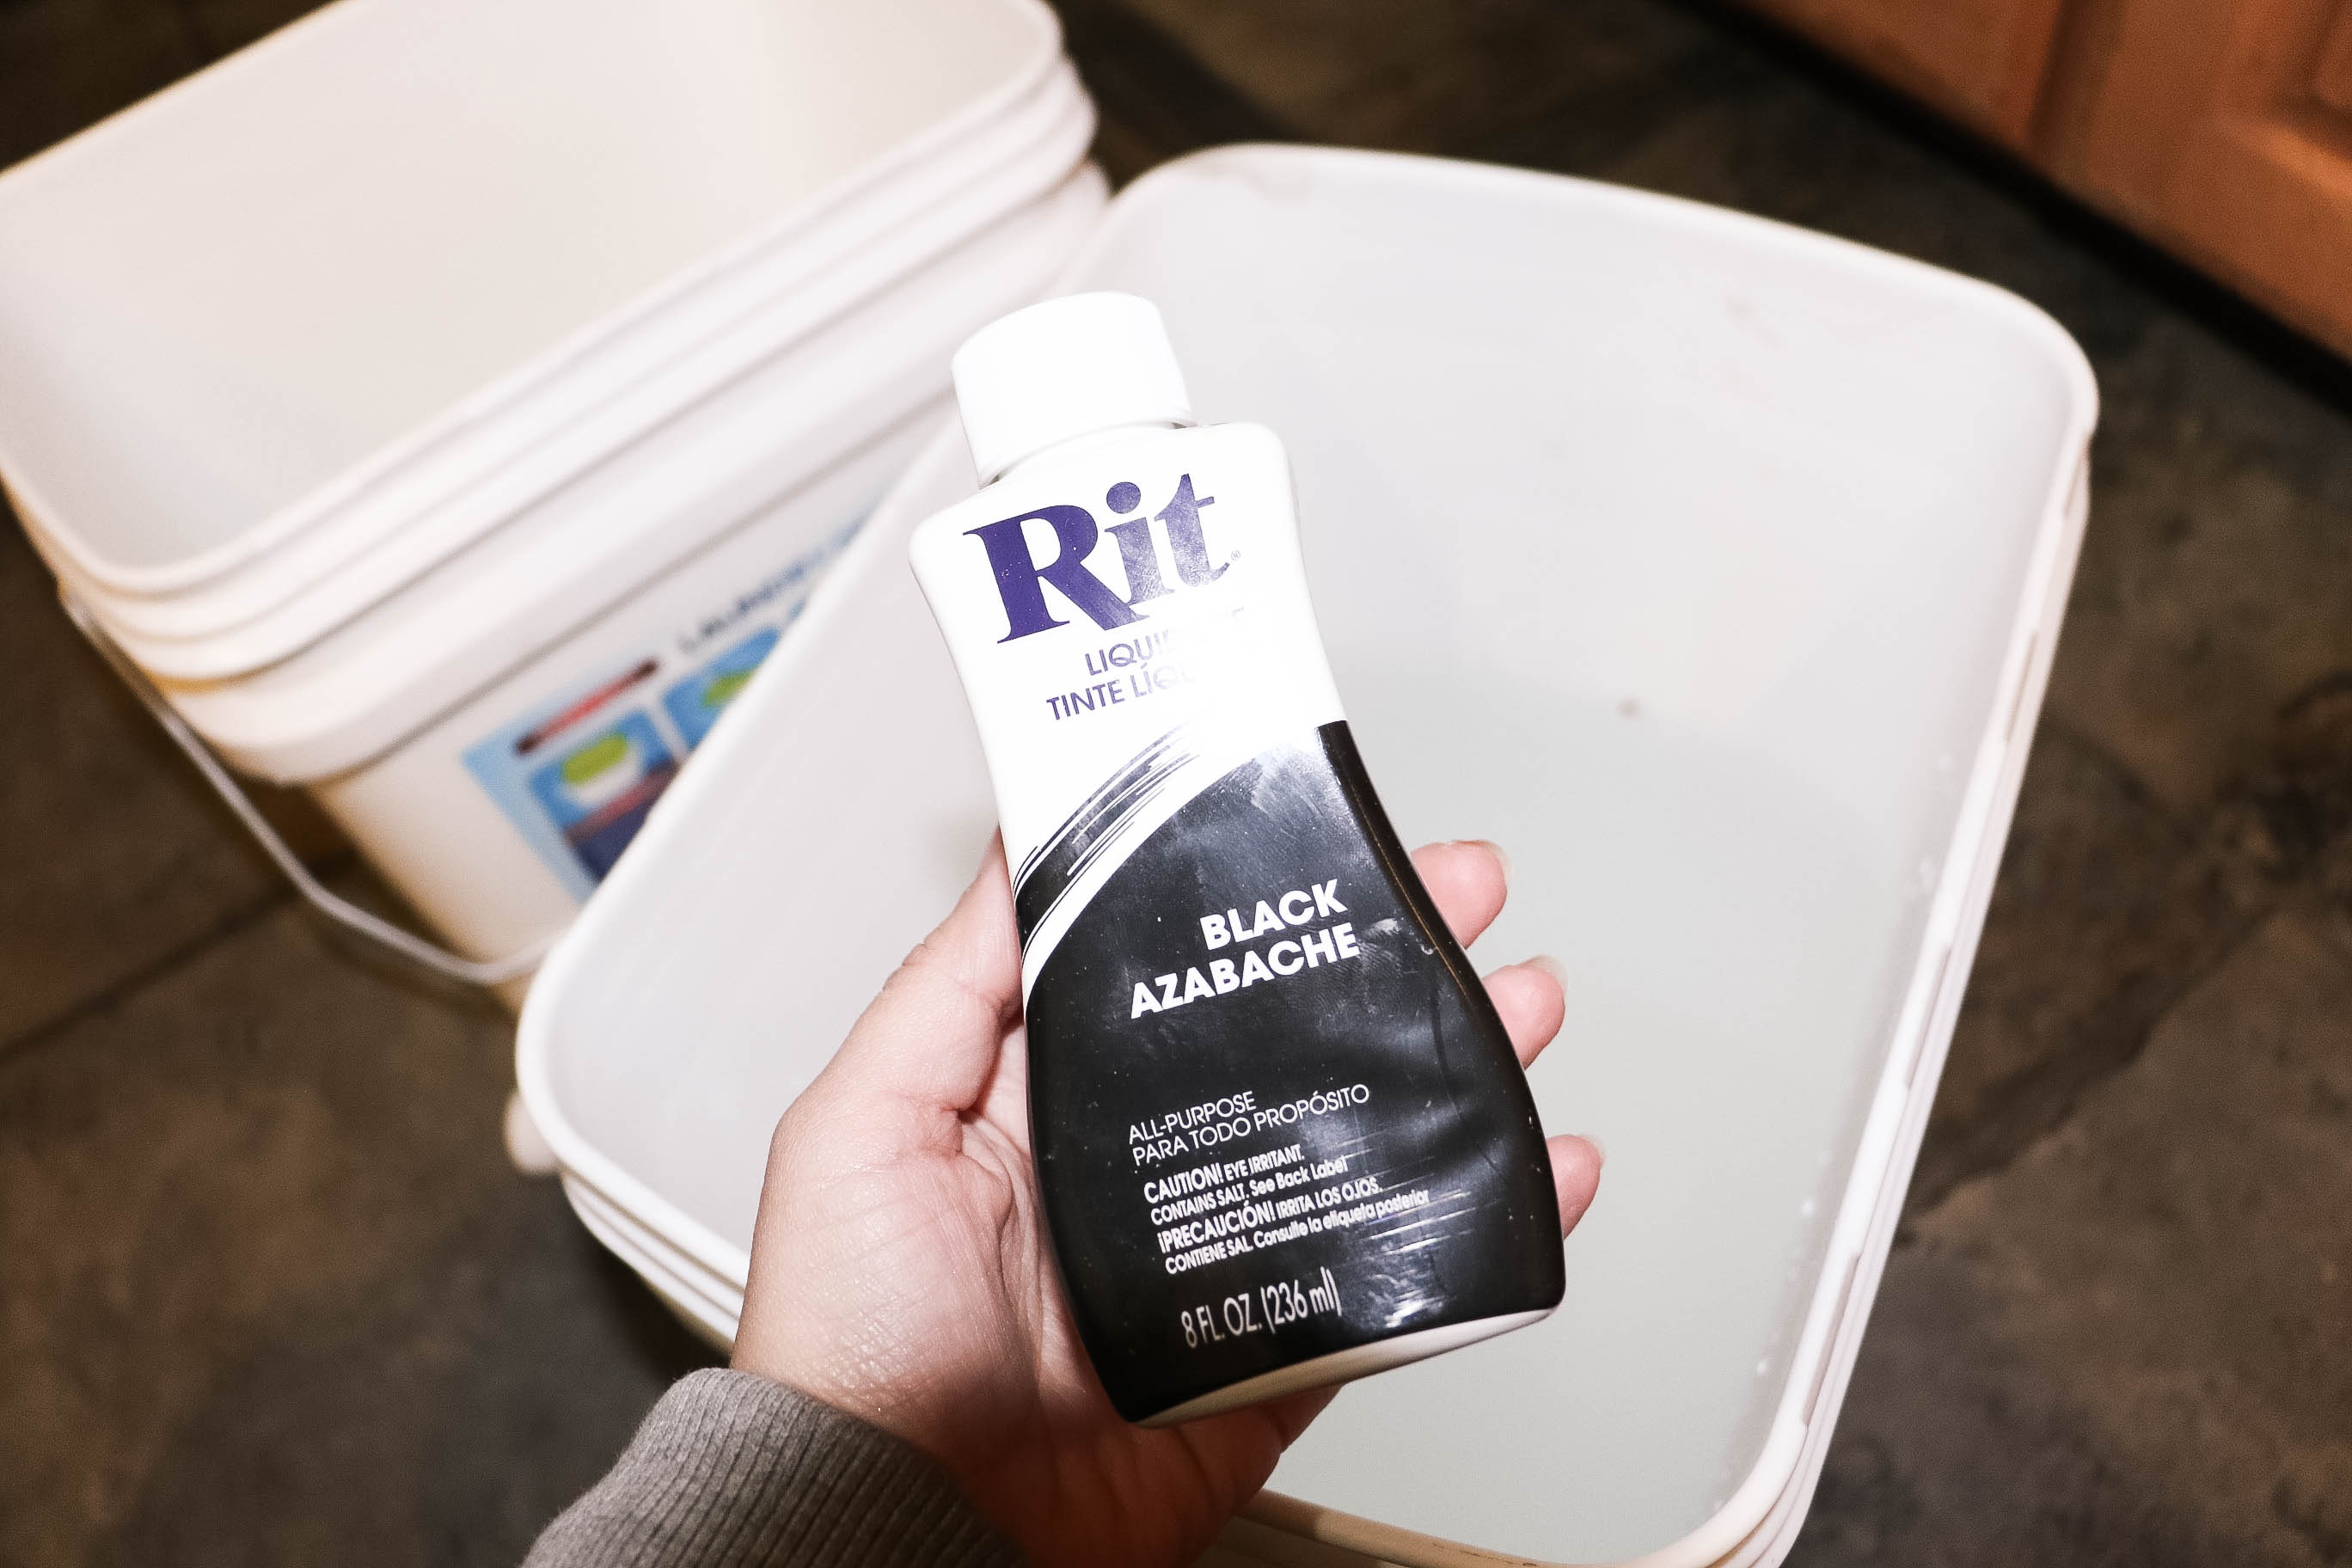
- Rit All-Purpose Dye (Black)
- Rit ColorStay Dye Fixative (Recommended)
- Measuring Cup
- Large Metal Spoon
- Plastic Container or Stainless Steel Sink
- Plastic Table Cover (To help prevent staining your table or floor wherever you choose to do the dye project)
- Rubber Gloves
- Salt (Clothing I Am Dyeing is Cotton)
WHAT YOU NEED TO KNOW:
I do not recommend dyeing in a porcelain or fiberglass sink.
Make sure clothing items are washed before dying. This helps to remove any finishes that may interfere with dye absorption.
Check fiber content of clothes you plan to dye to be sure you are using the right dye. All-Purpose Dye versus DyeMore.
DIRECTIONS:
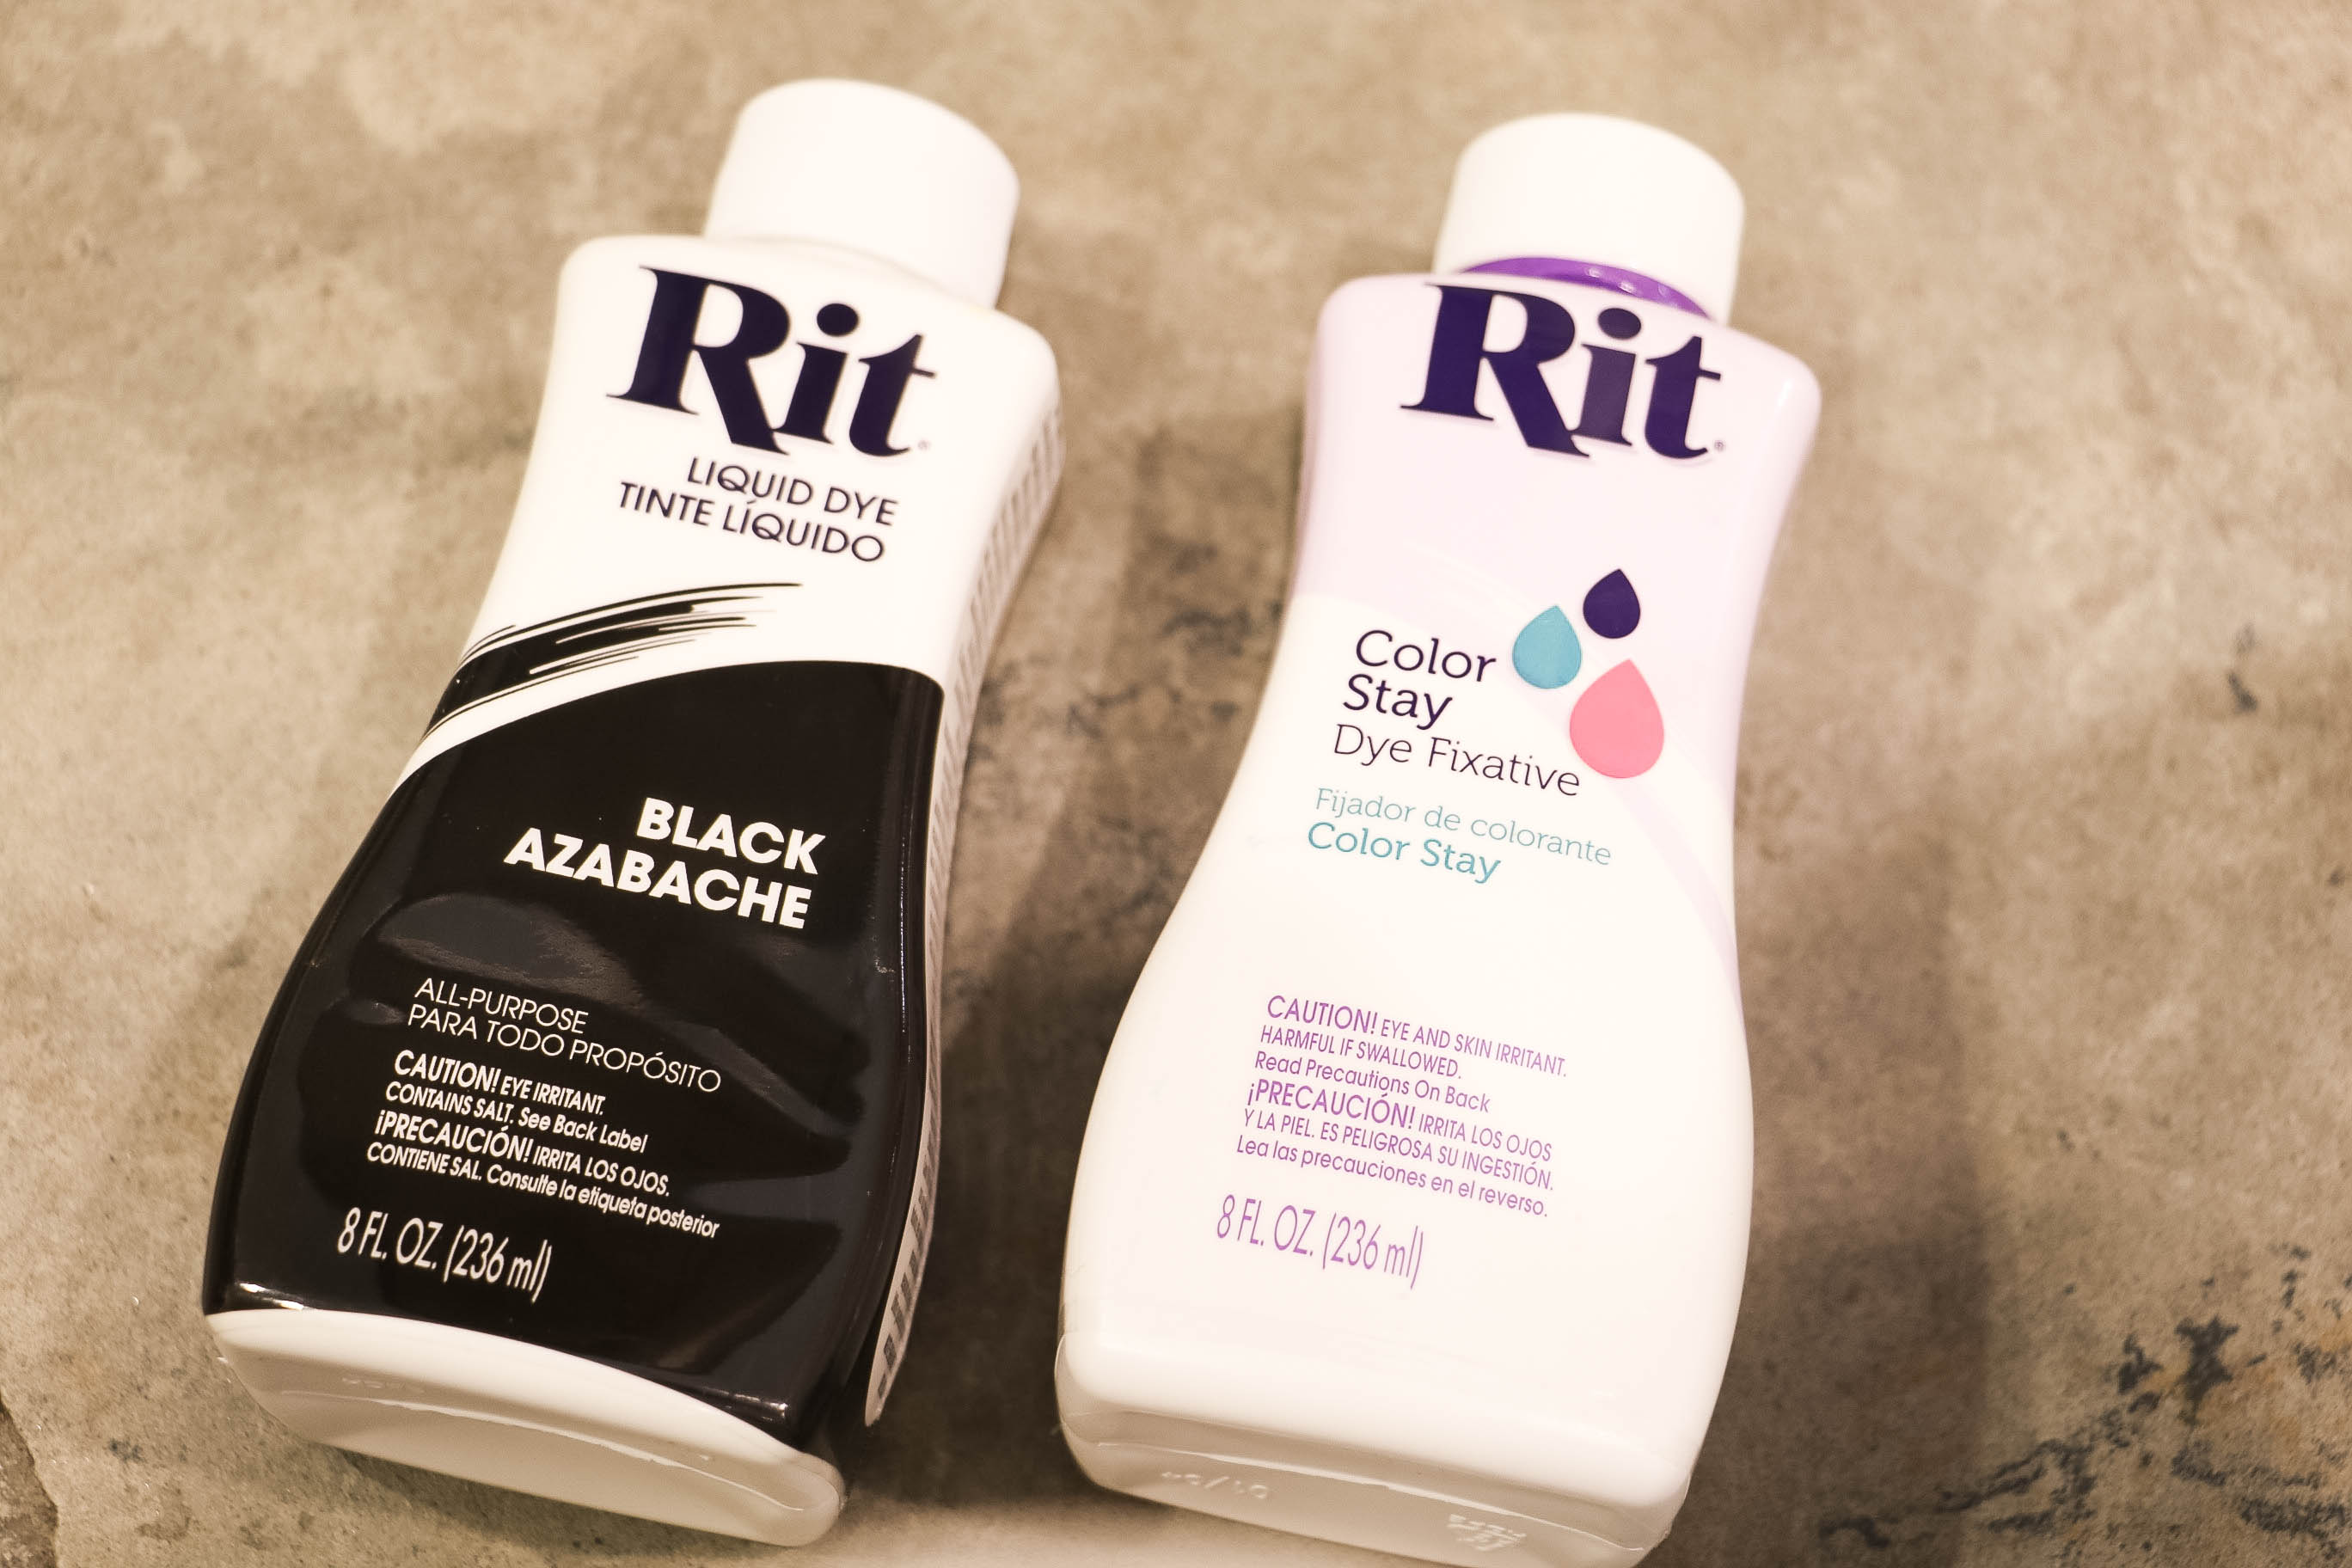
1. Make sure to cover work area with plastic table cover and have paper towels handy to protect against any possible spills. Also wear rubber gloves to protect hands from getting stained and to insulate them when working with hot water.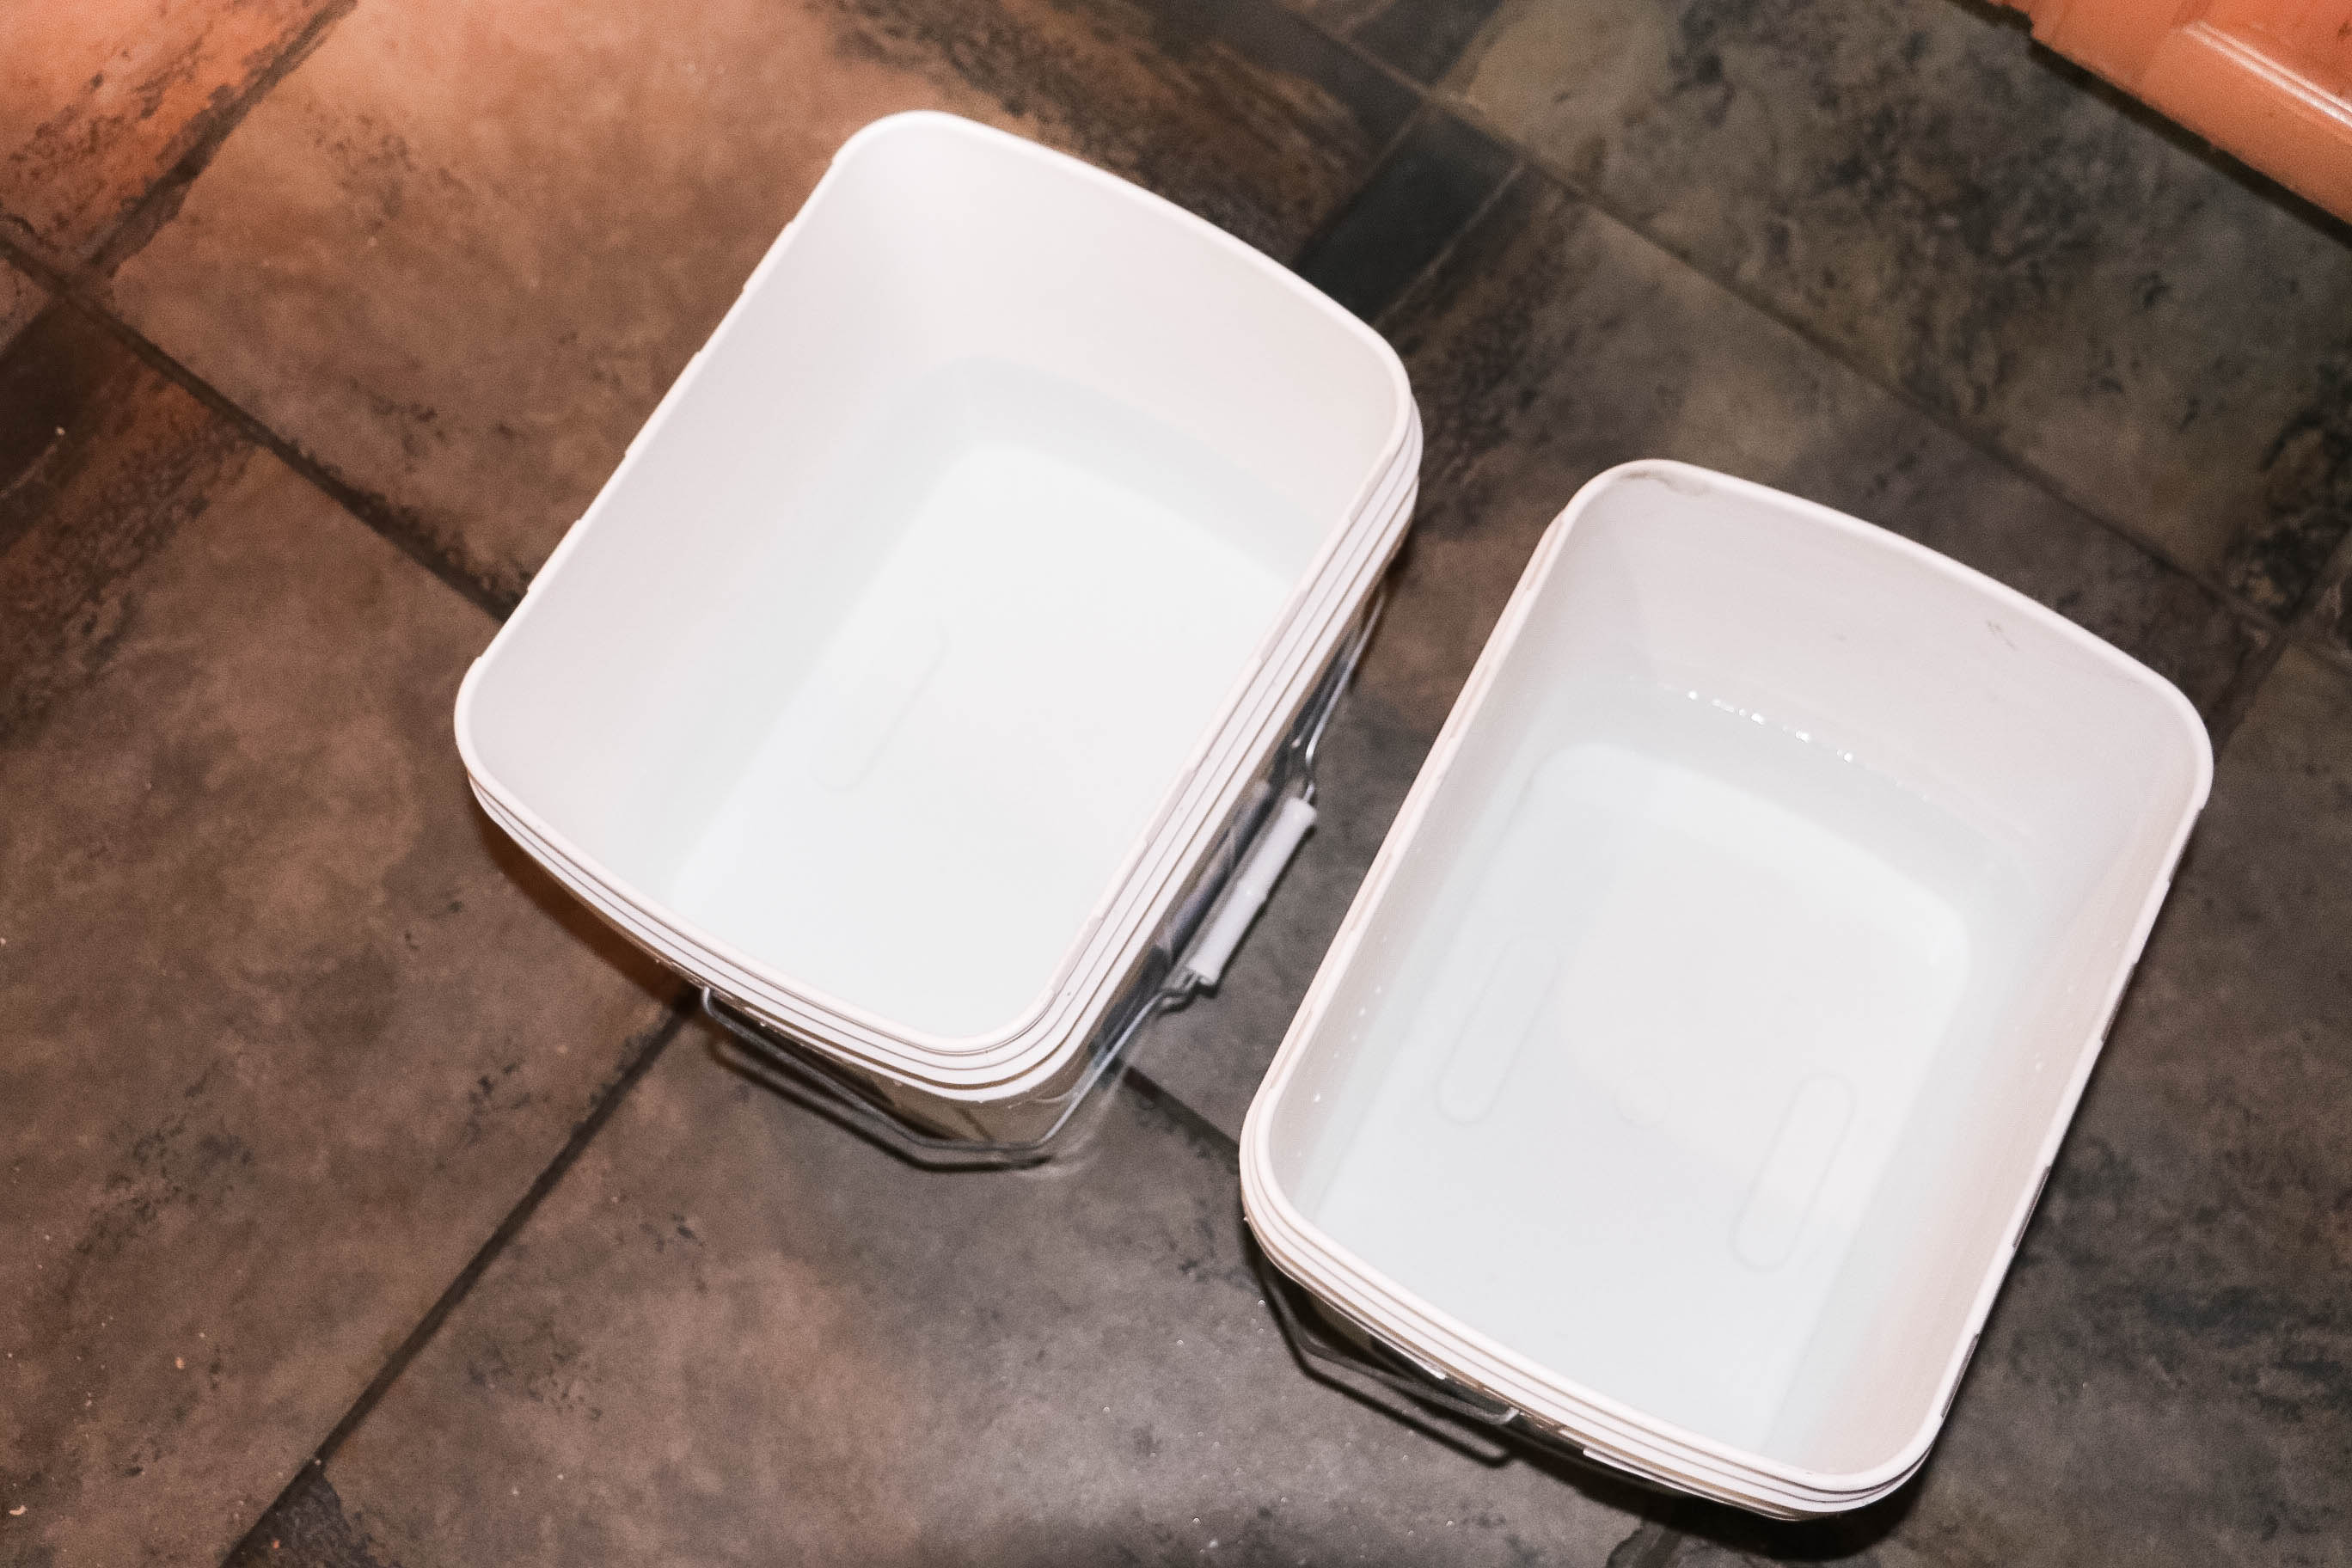 2. Estimate the weight of the clothes you’re going to dye, or you can use a scale. I used one liquid bottle, but as a general rule, one liquid bottle of dye for two pounds of dry fabric. If you are trying to achieve a very bold color, then double the dye quantity.
 3. Fill plastic container with enough water for the fabric to move freely. General Rule: use three gallons of water for every pound of fabric. The water should ideally be 140ºF. If tap water is not hot enough, heat water on the stove and add to the dyebath.
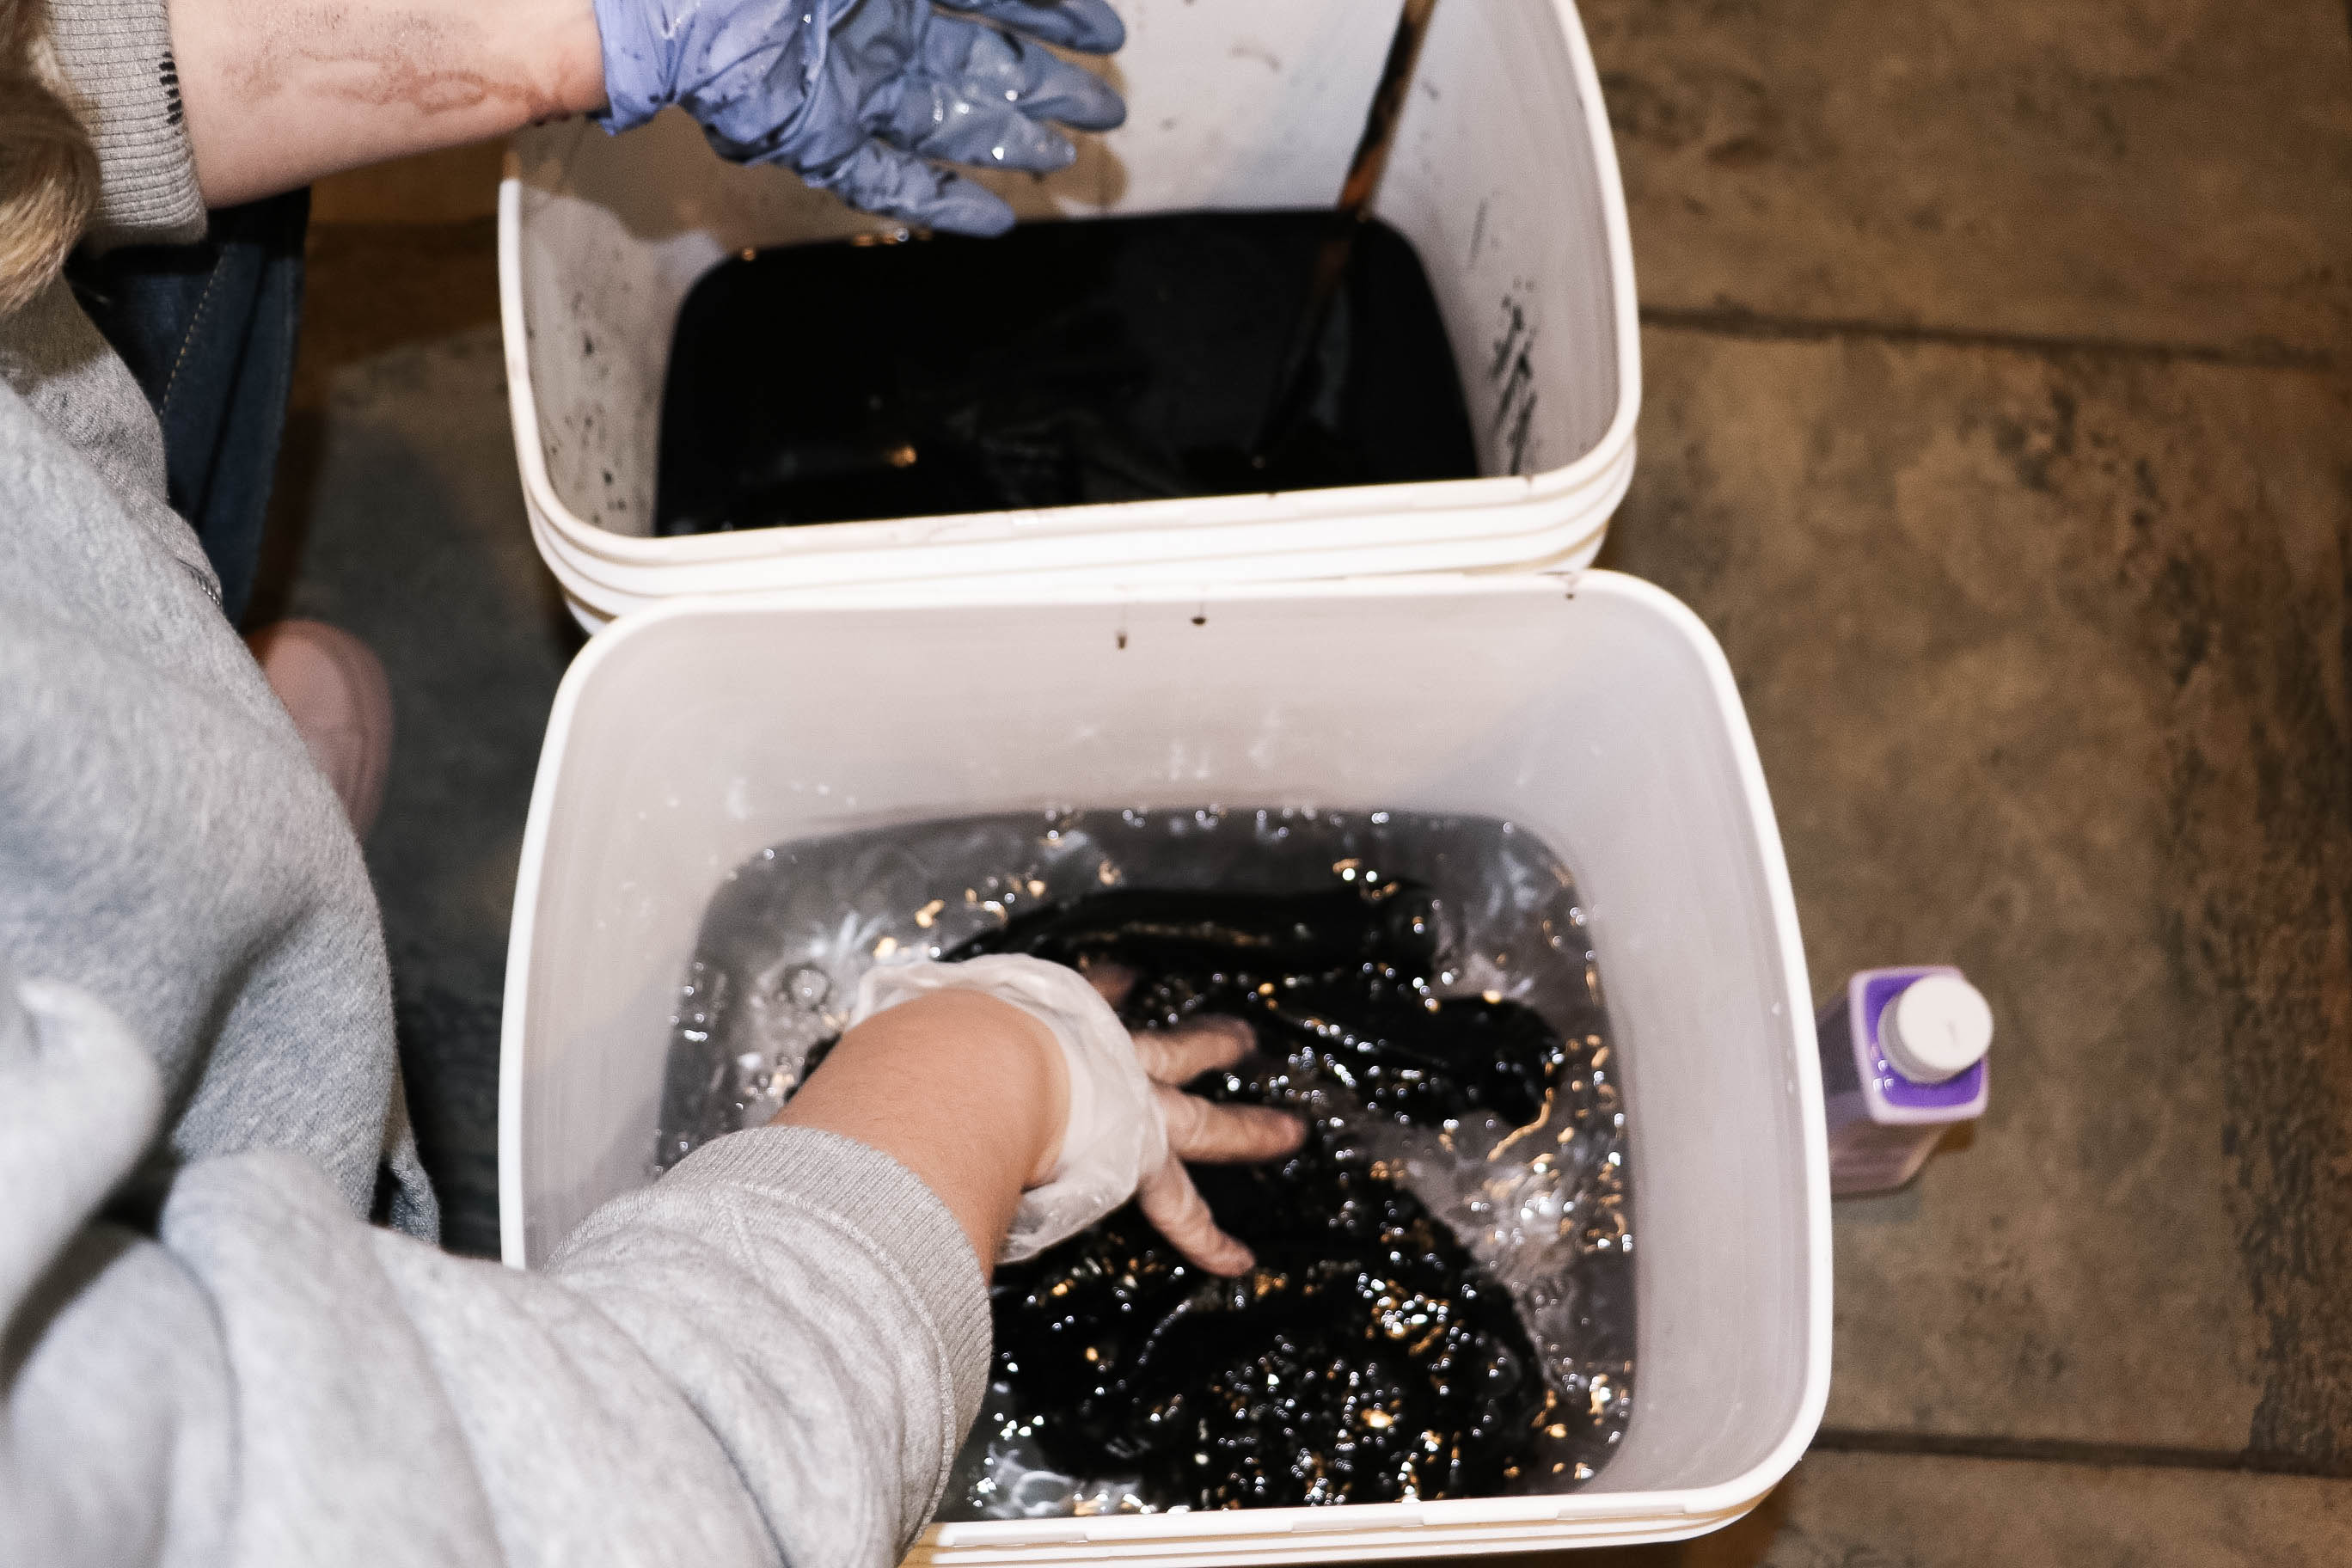
4. Next, I added 1 cup of salt to one of the water containers.General Rule: (1) add 1cup of salt when dyeing fabrics containing cotton, rayon, ramie or linen; (2) add 1 cup of vinegar when dyeing fabrics containing nylon, silk or wool.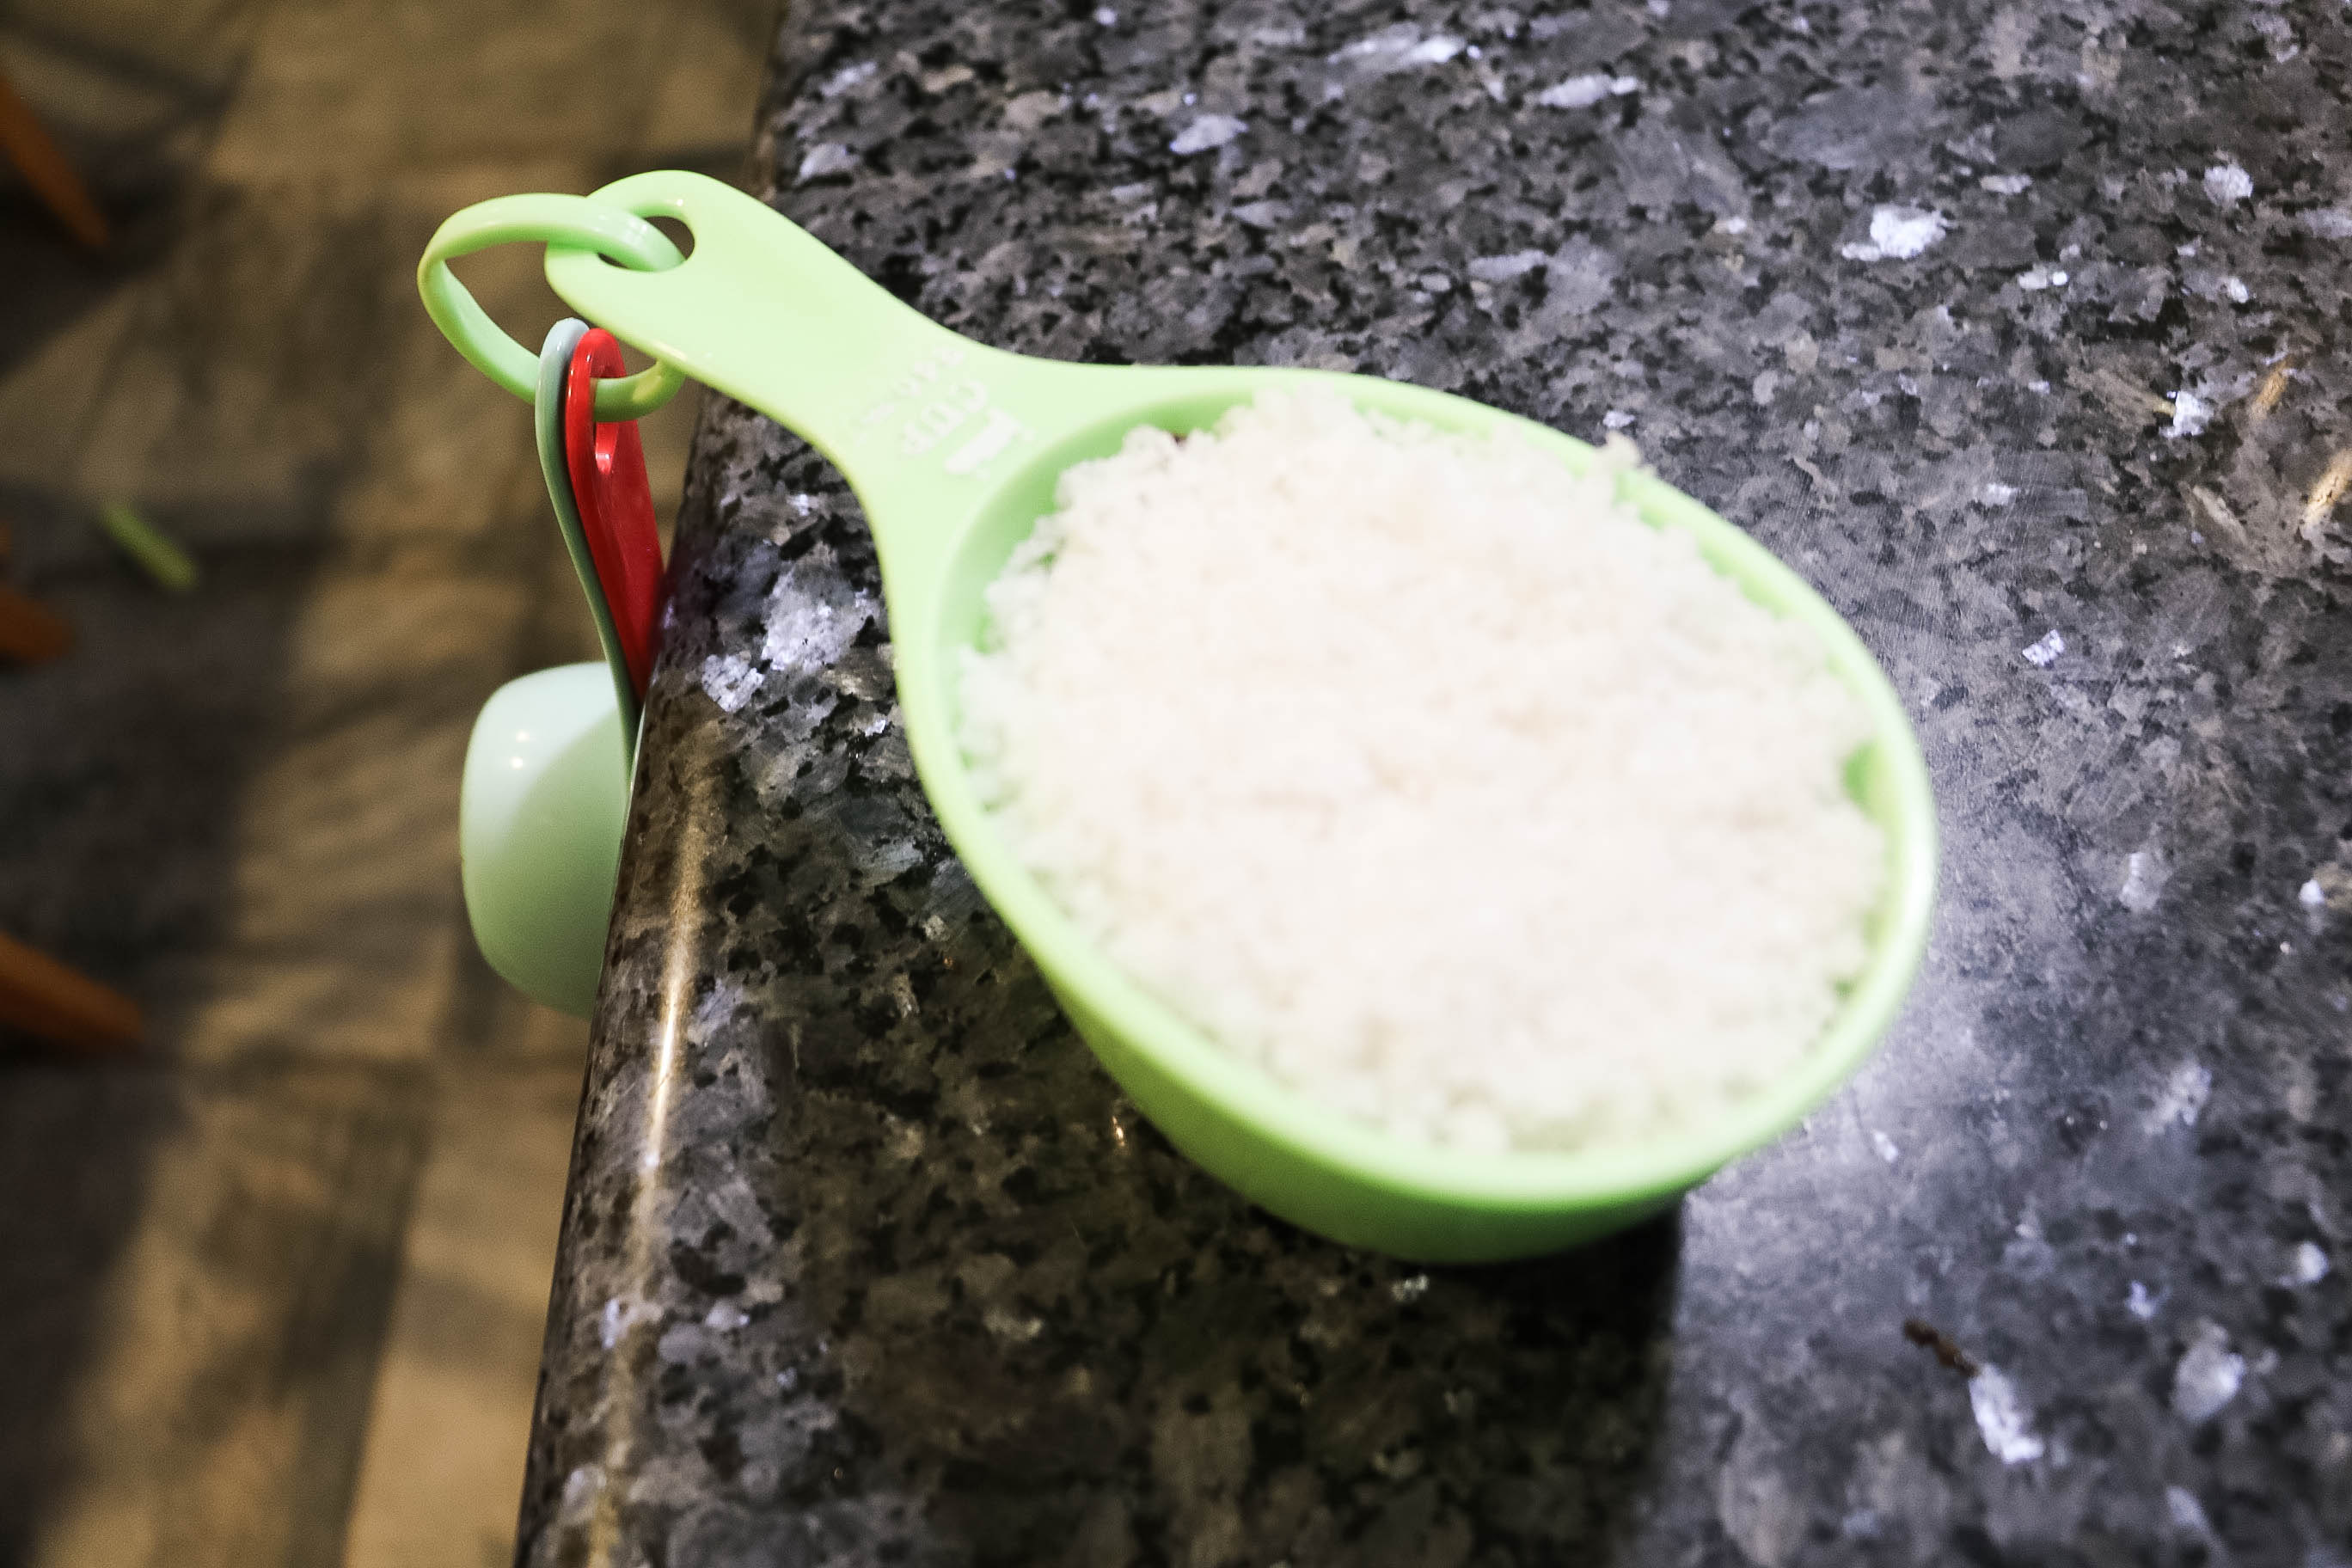 5. Wet the item you are going to be dyeing and add it to the dye bath. Stir slowly and continuously. The first 10 minutes are the most critical. Make sure to stir frequently to help ensure an even color with no splotches.
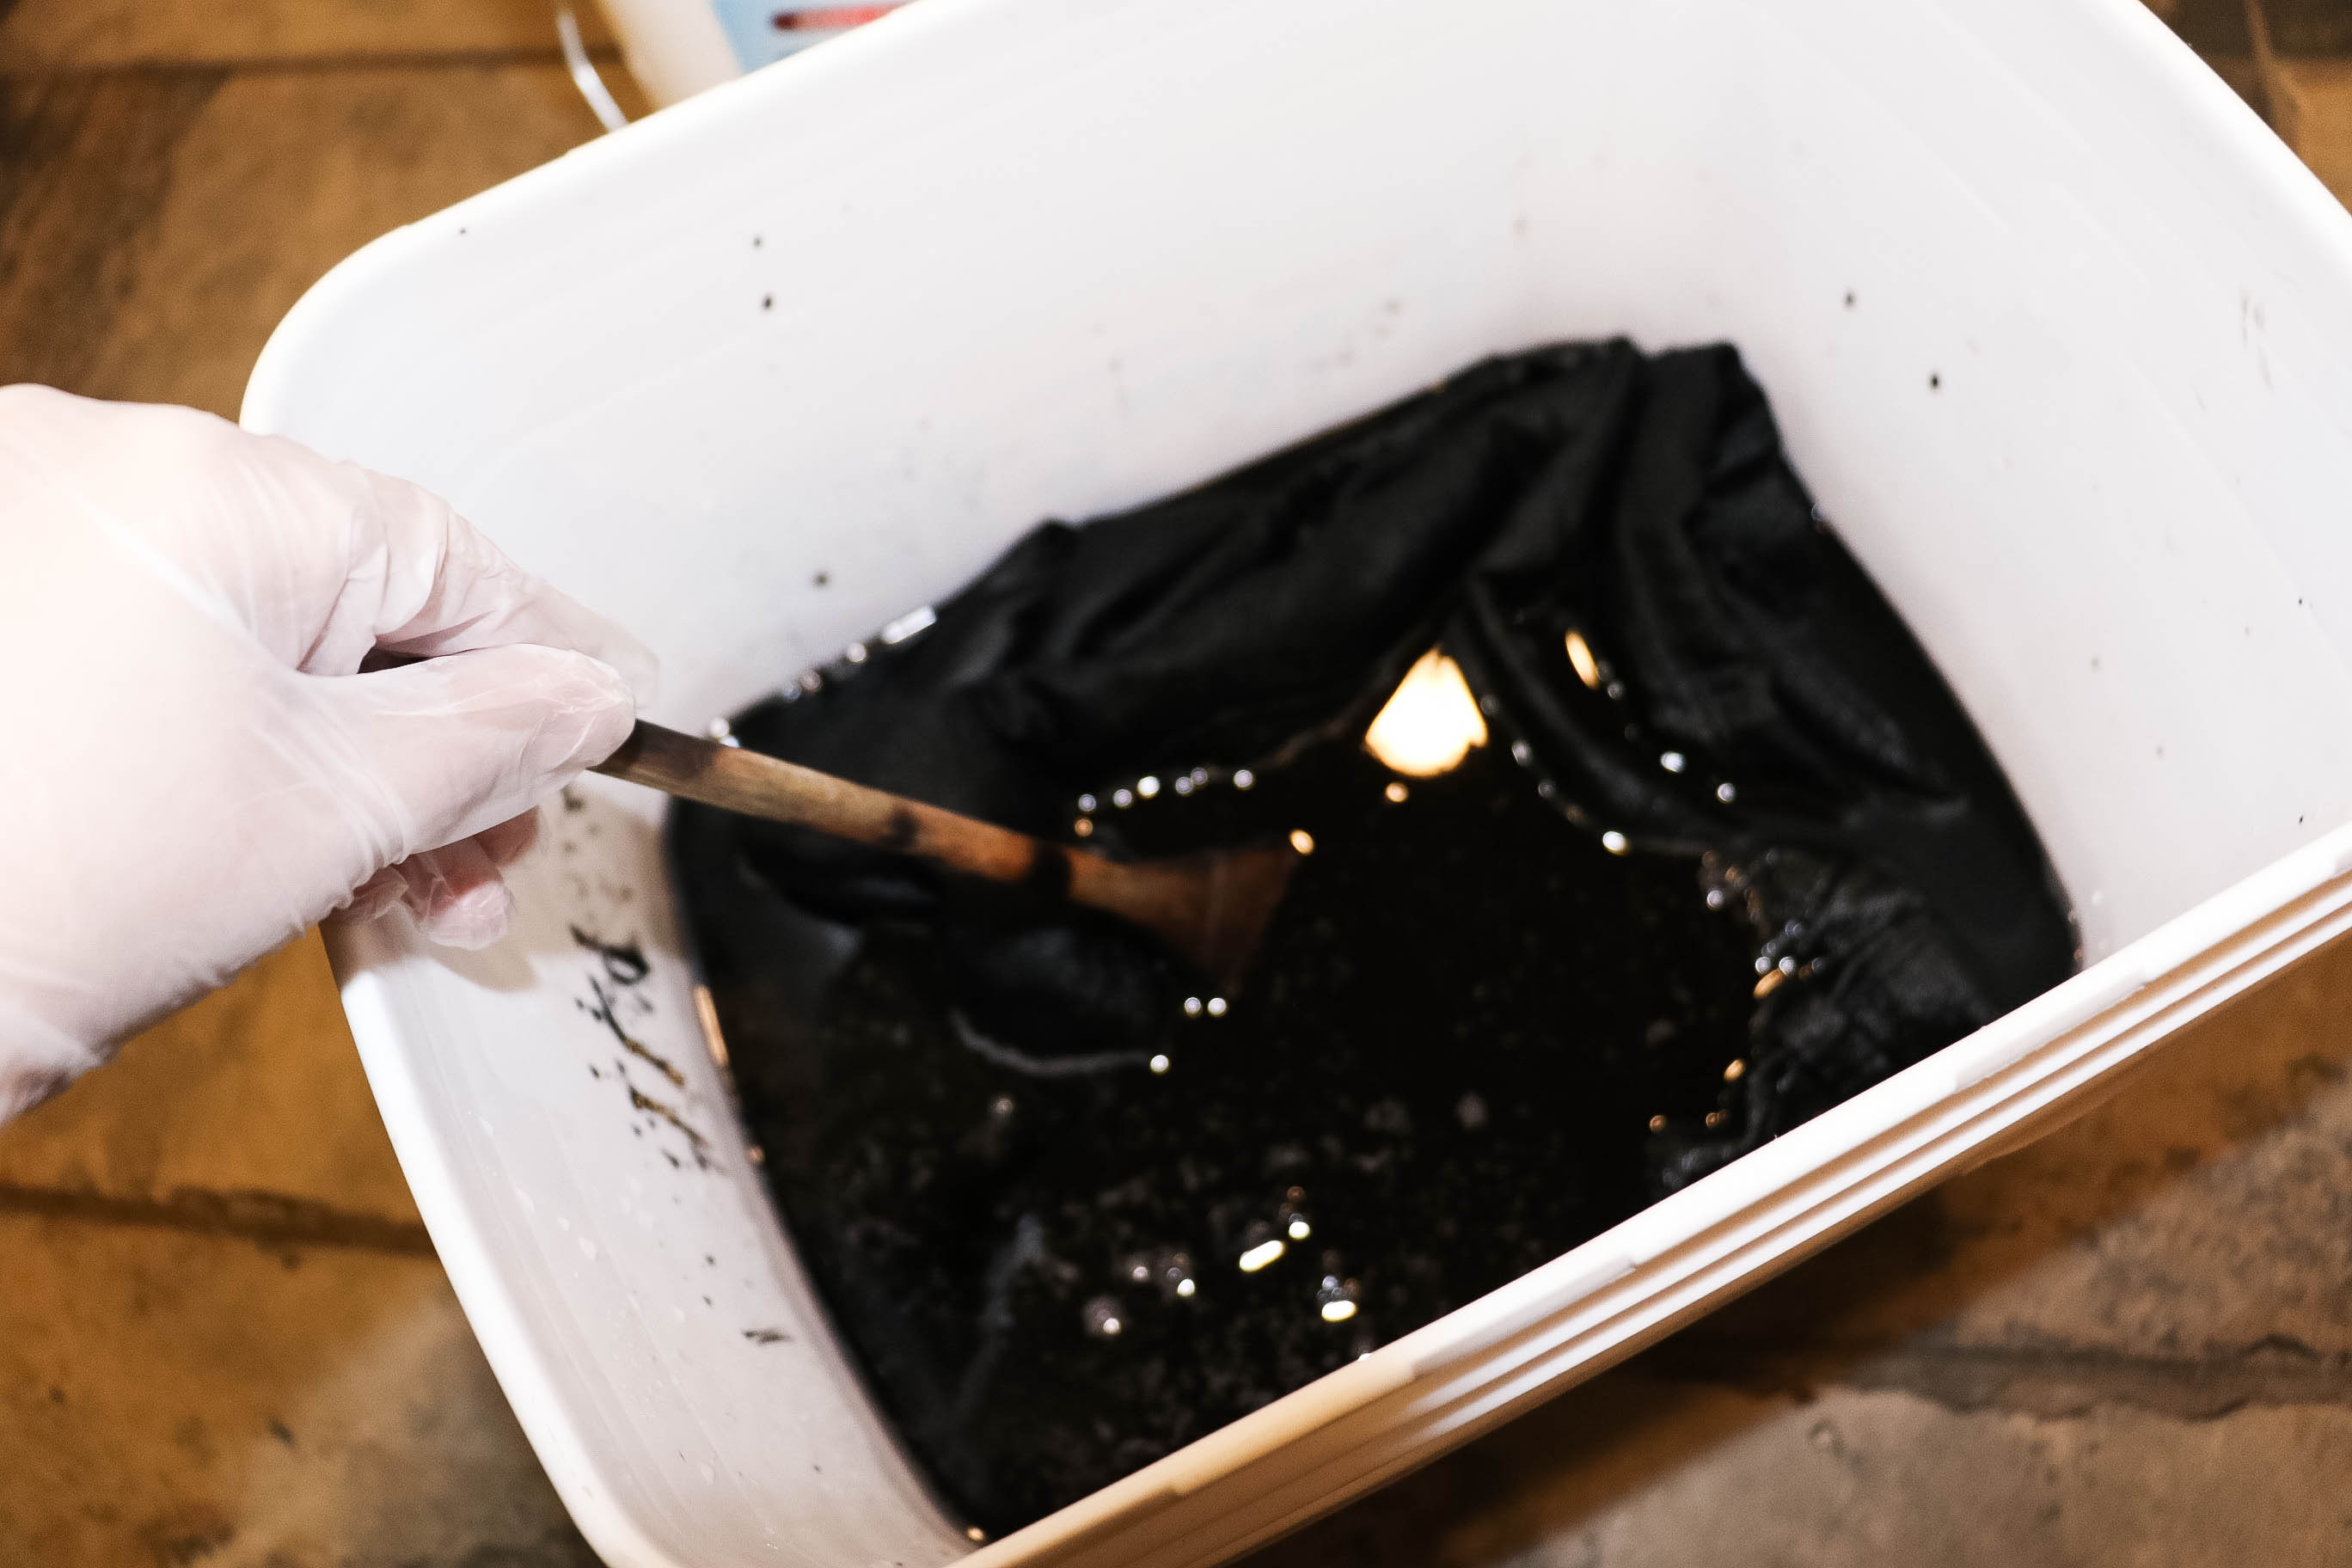
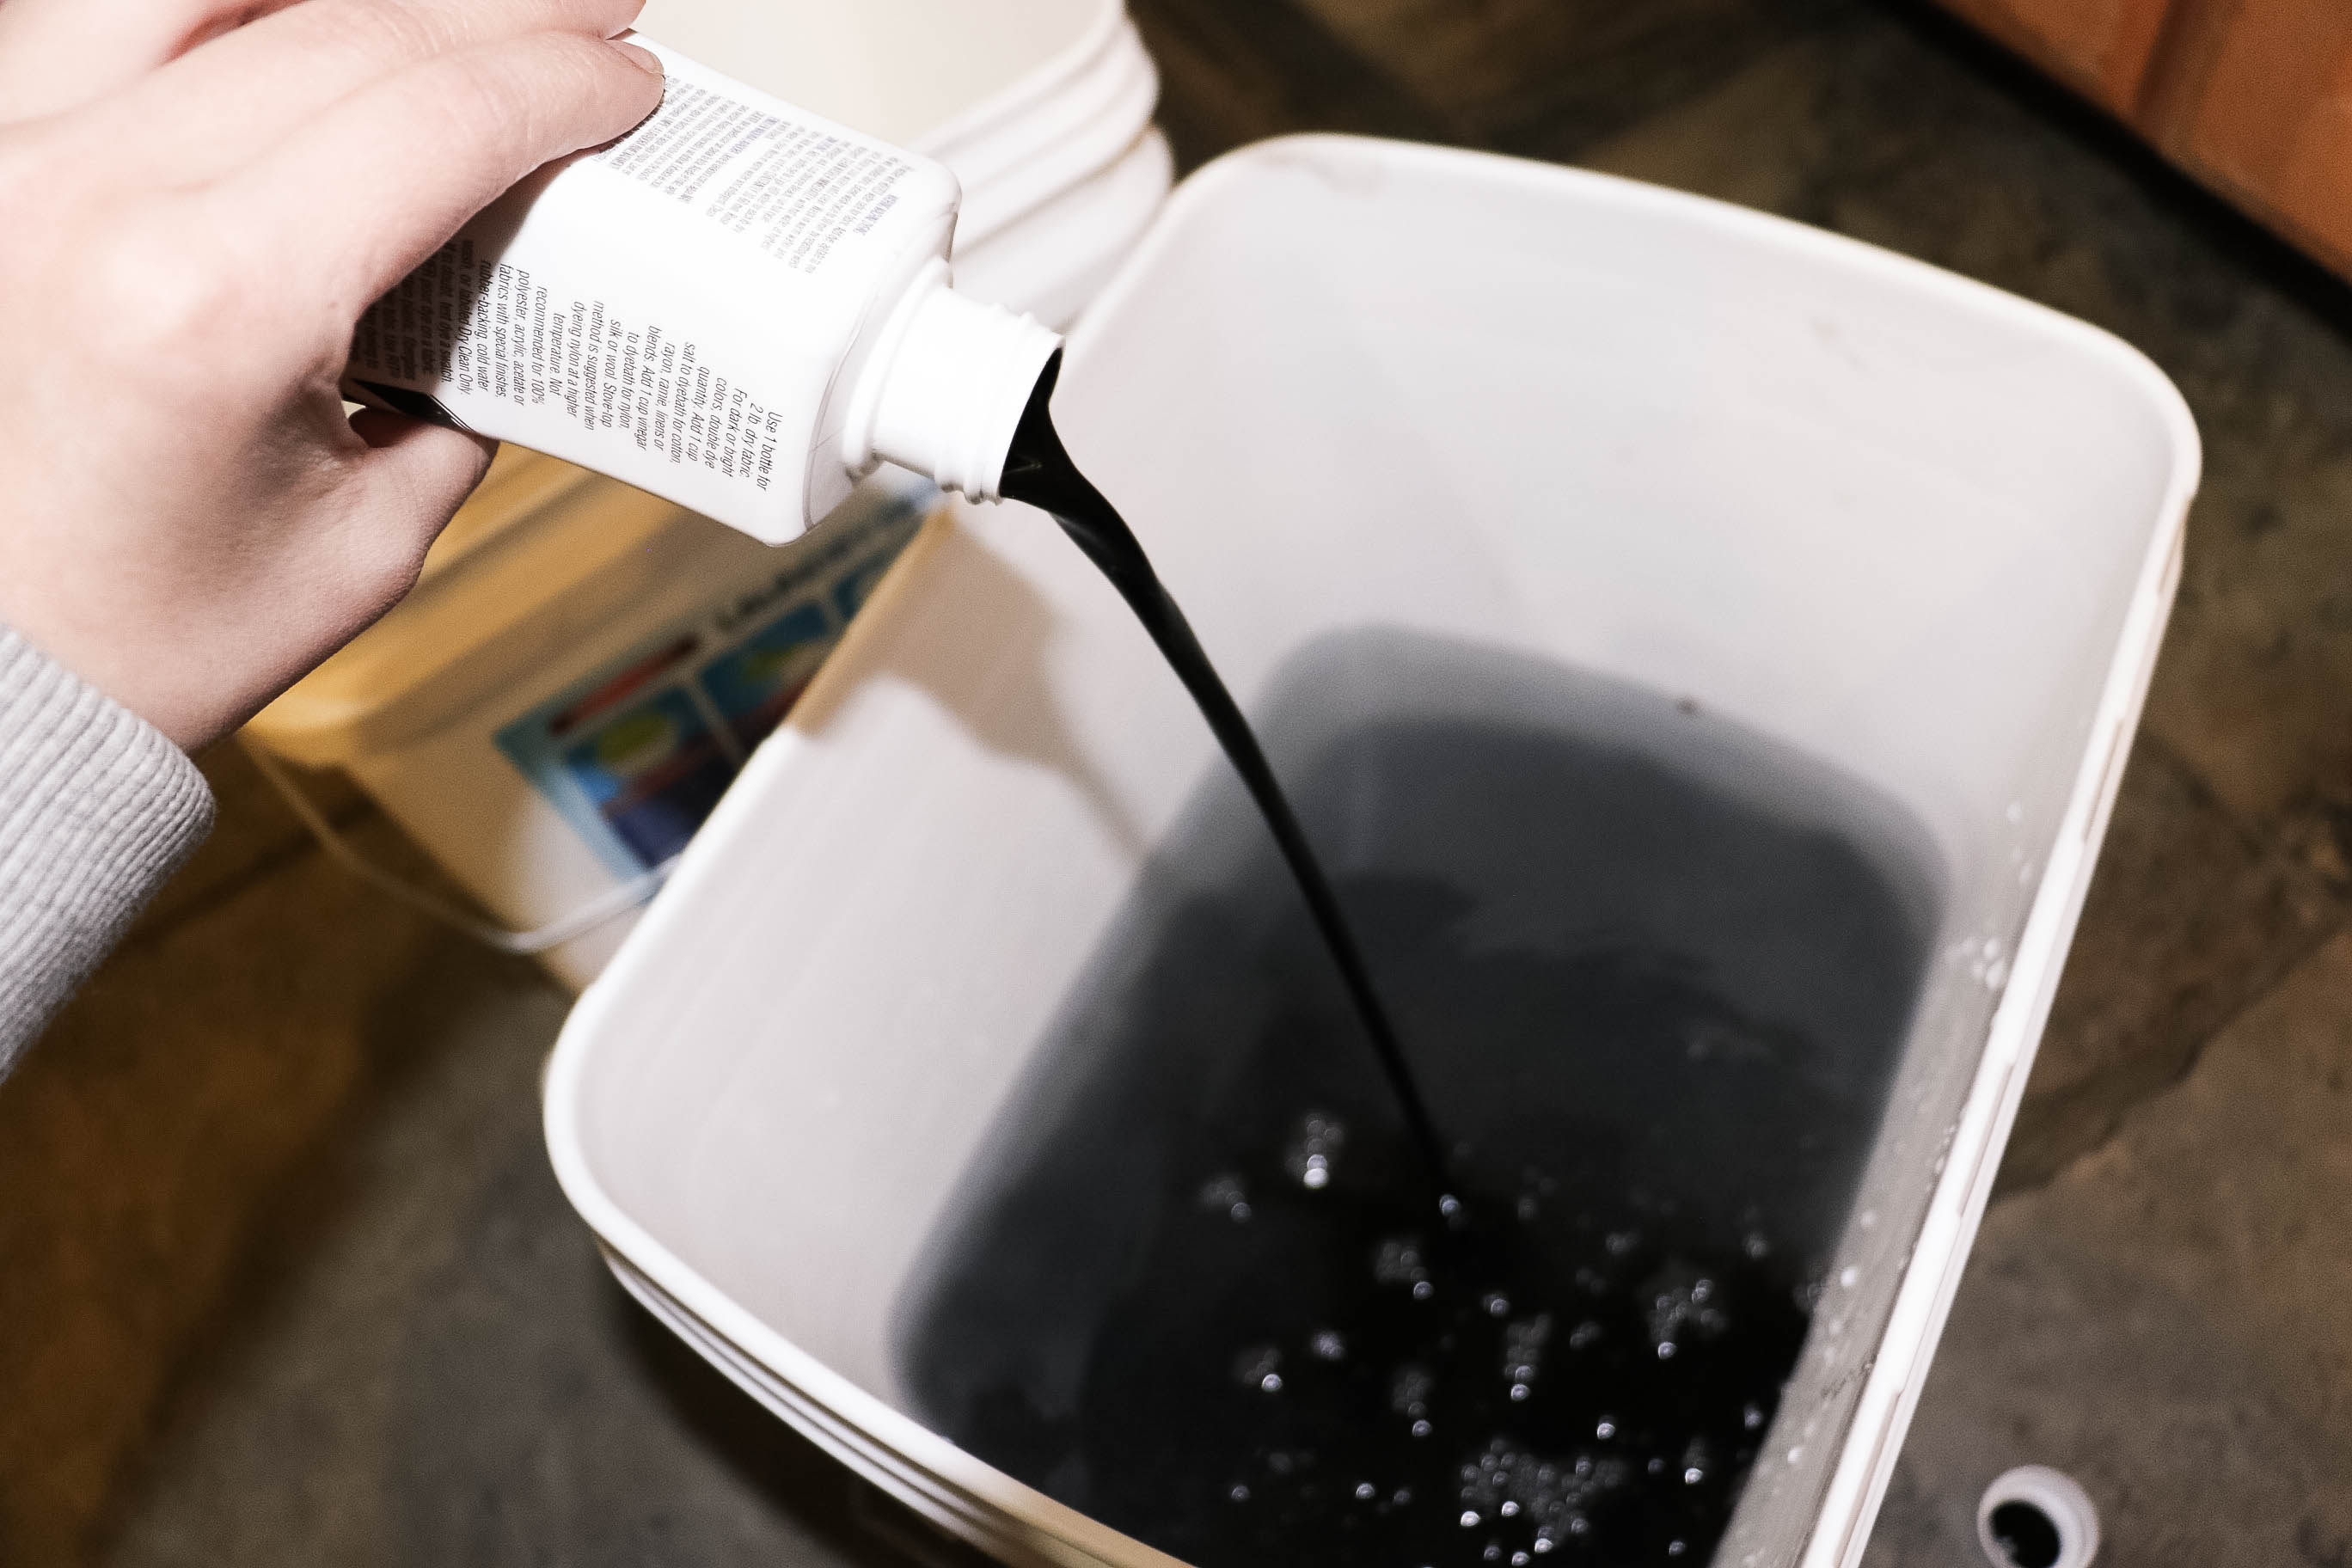 6. Stir frequently for 30-60 minutes depending on the level of darkness you want to achieve. I left it for 45 minutes, stirring frequently.
 7. Remove from dye bath, and squeeze out excess dye.
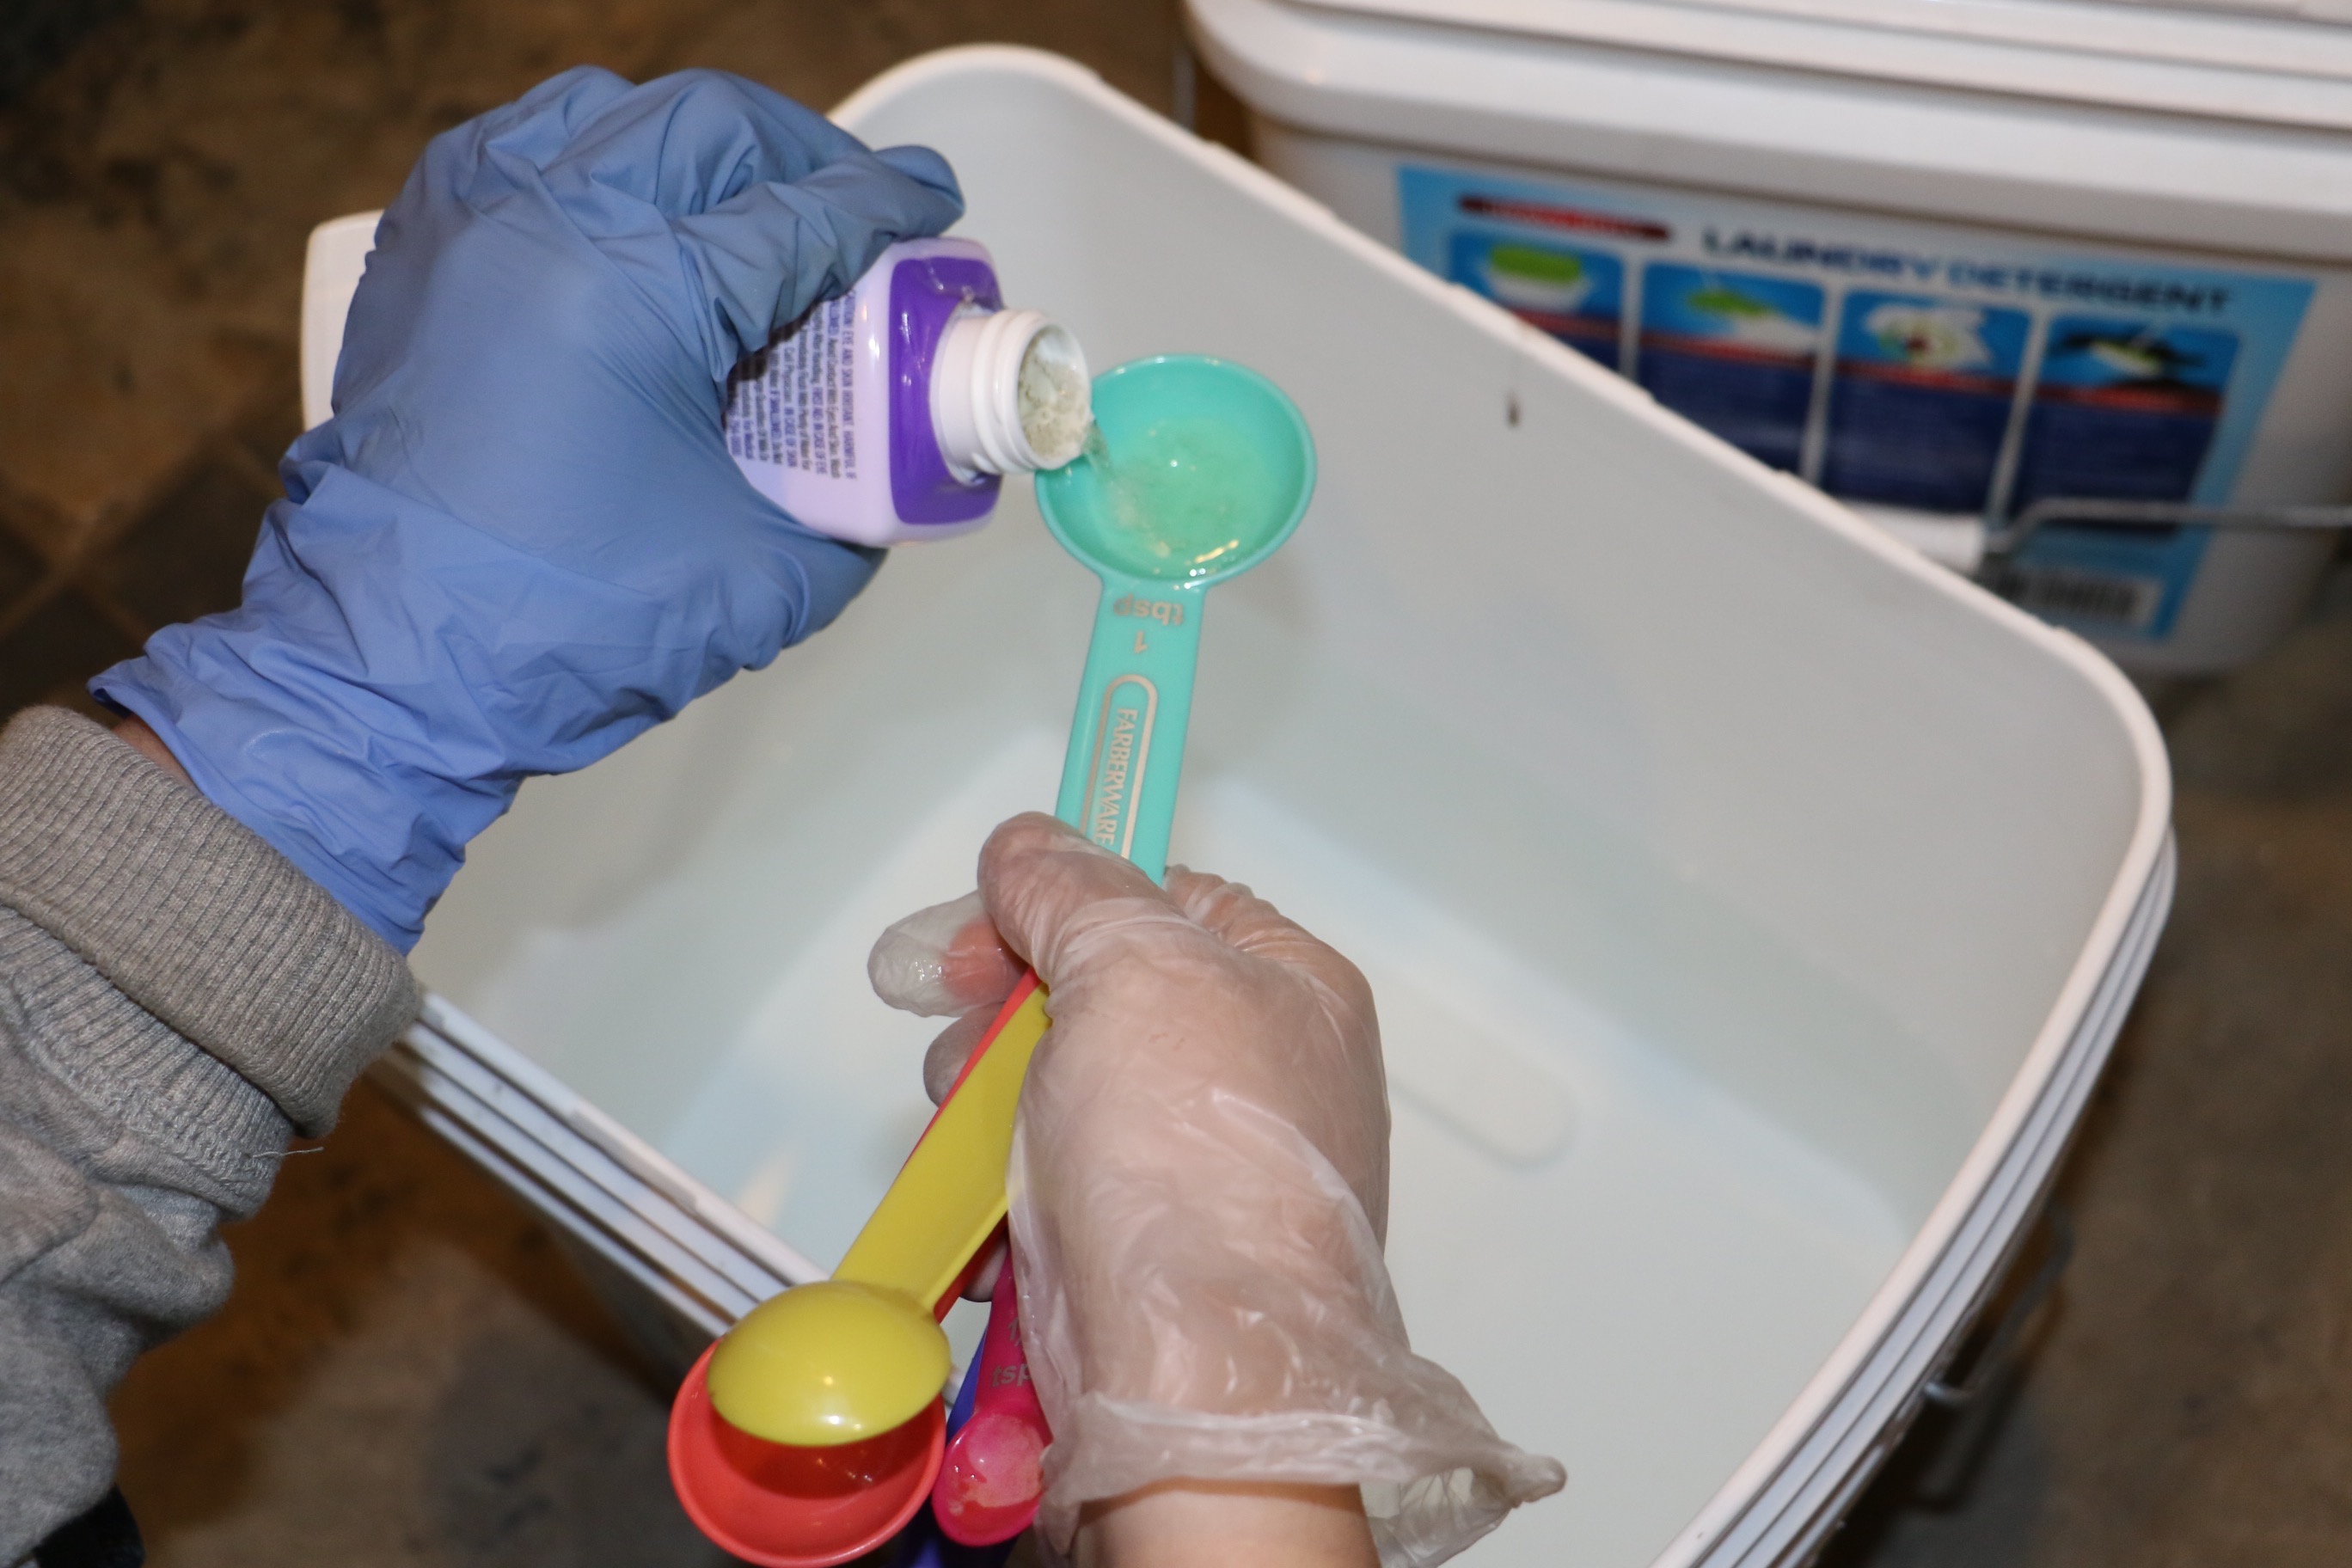
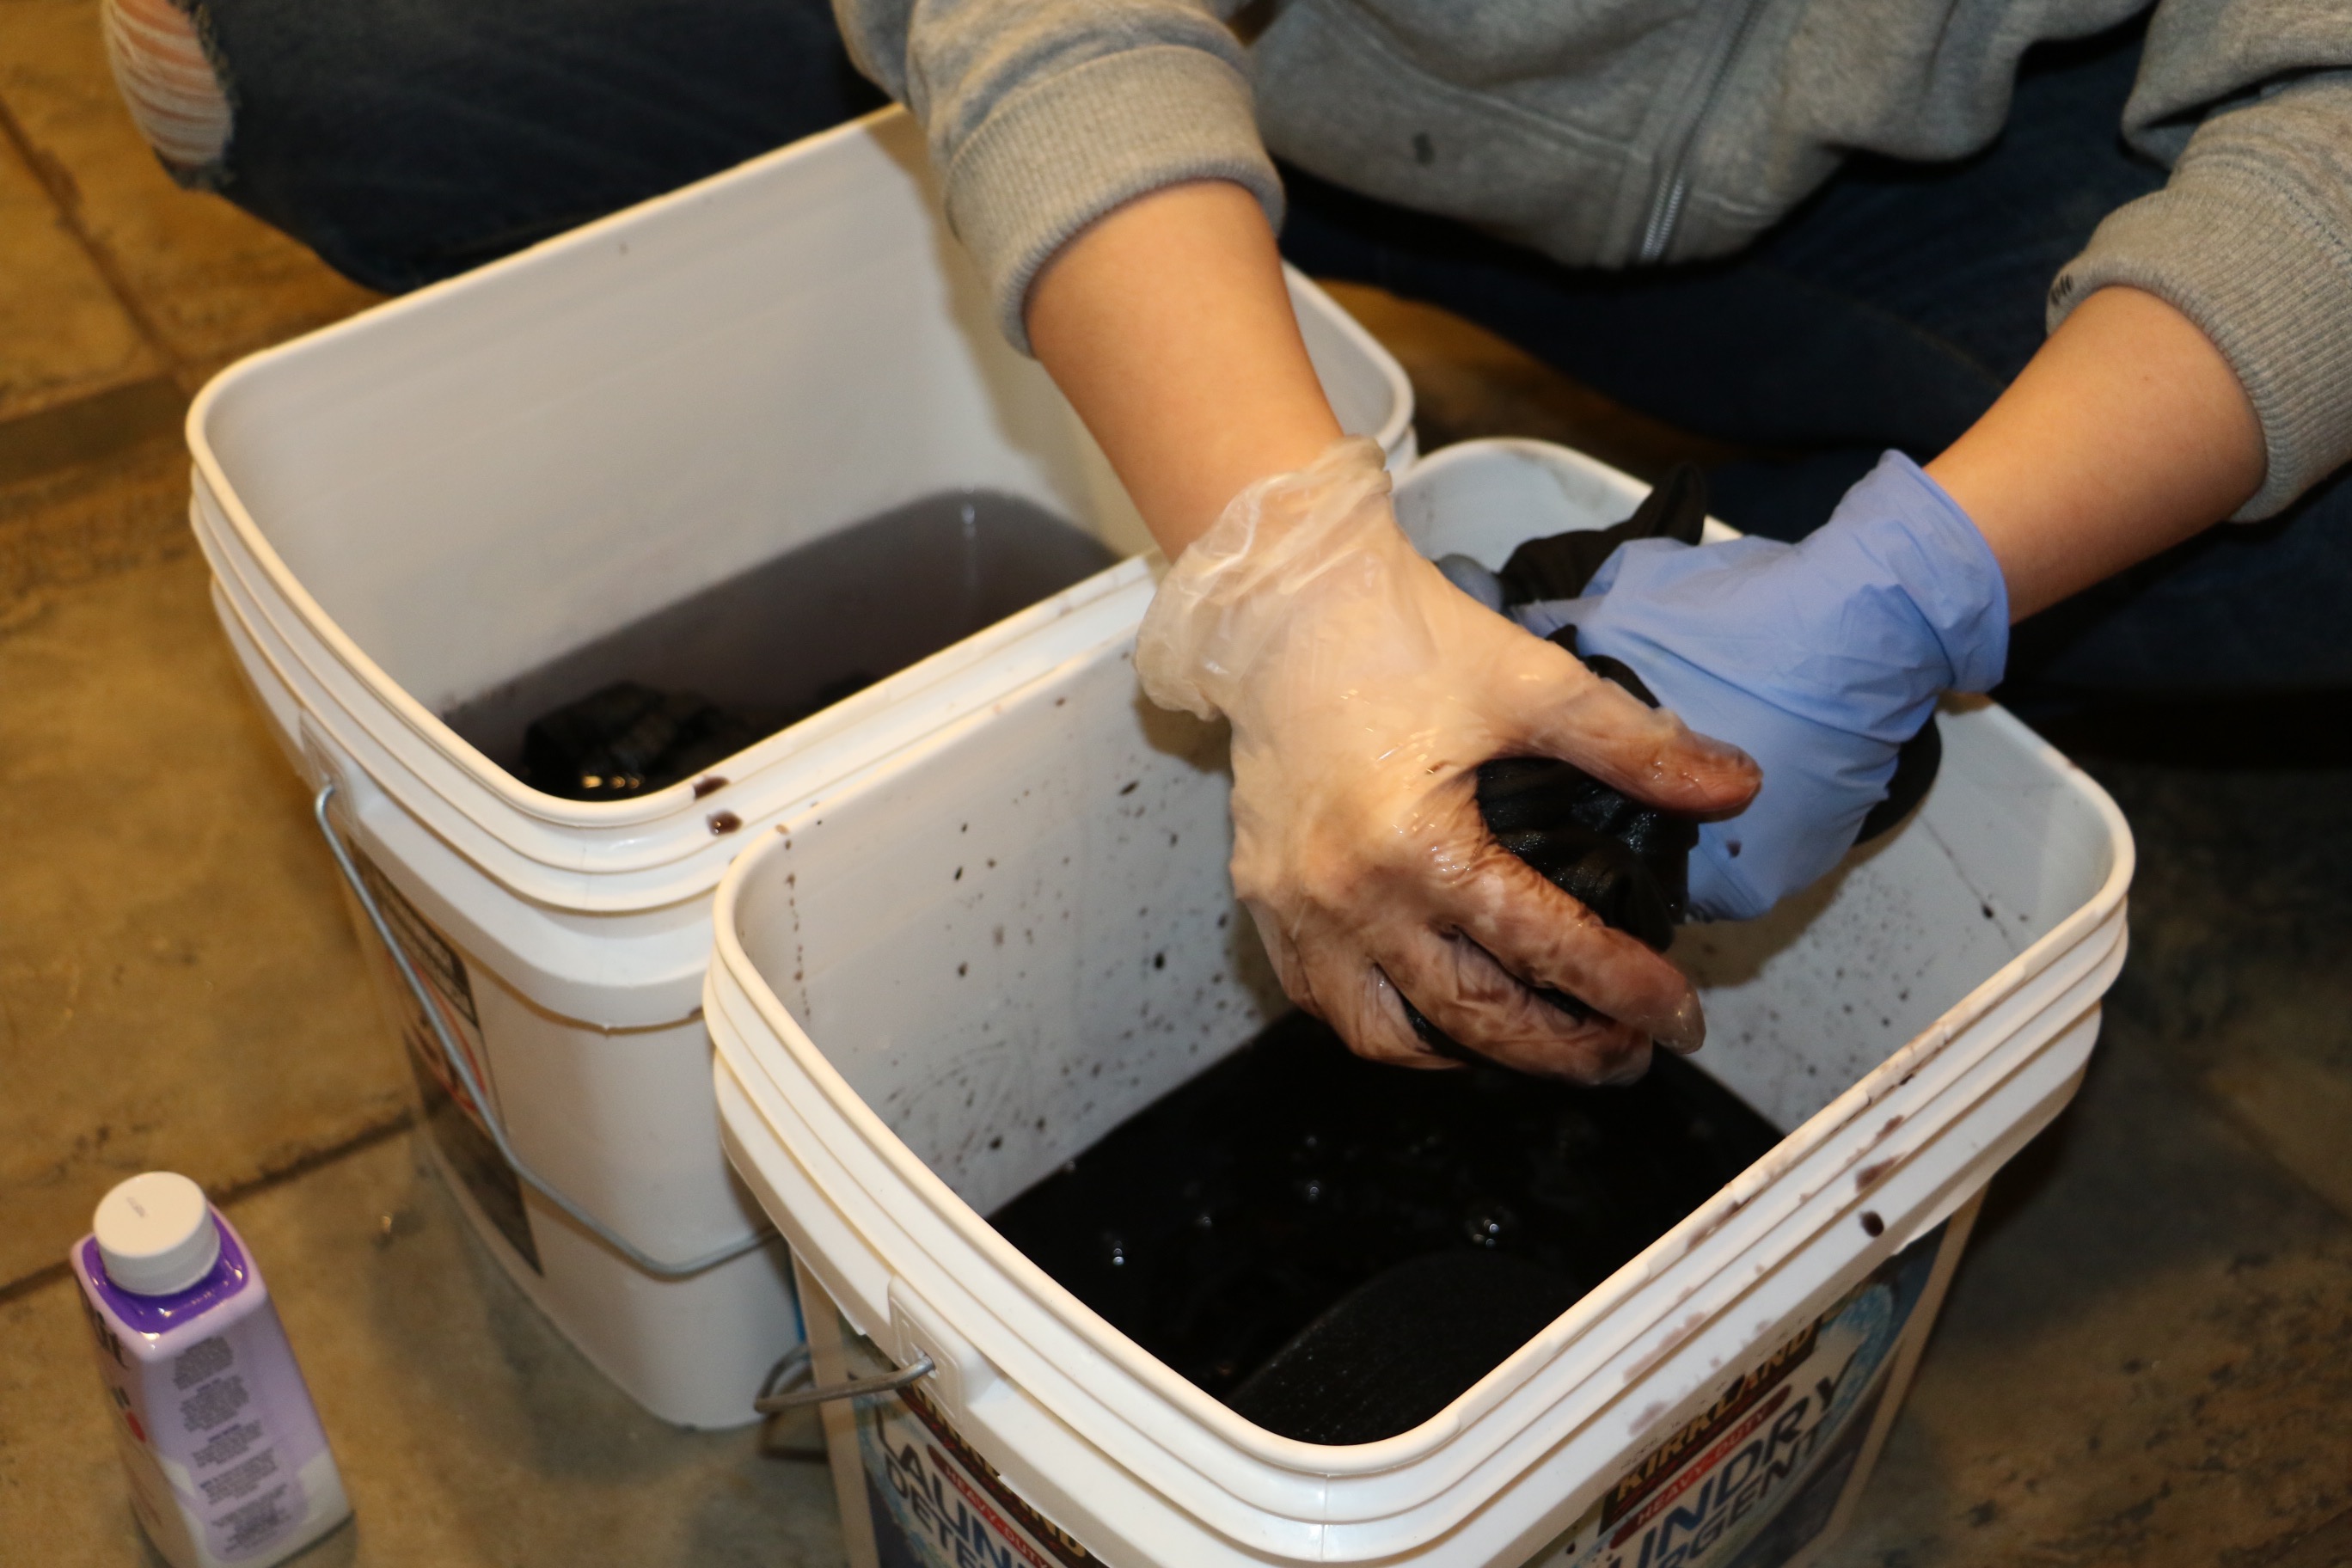 8. Fill the second container with 2 gallons of hot water and add 4 tablespoons of the Rit ColorStay Dye Fixative immediately after dyeing. Leave for 20 minutes stirring frequently.
 9. Next, rinse in cool water until rinse water begins to run clear.
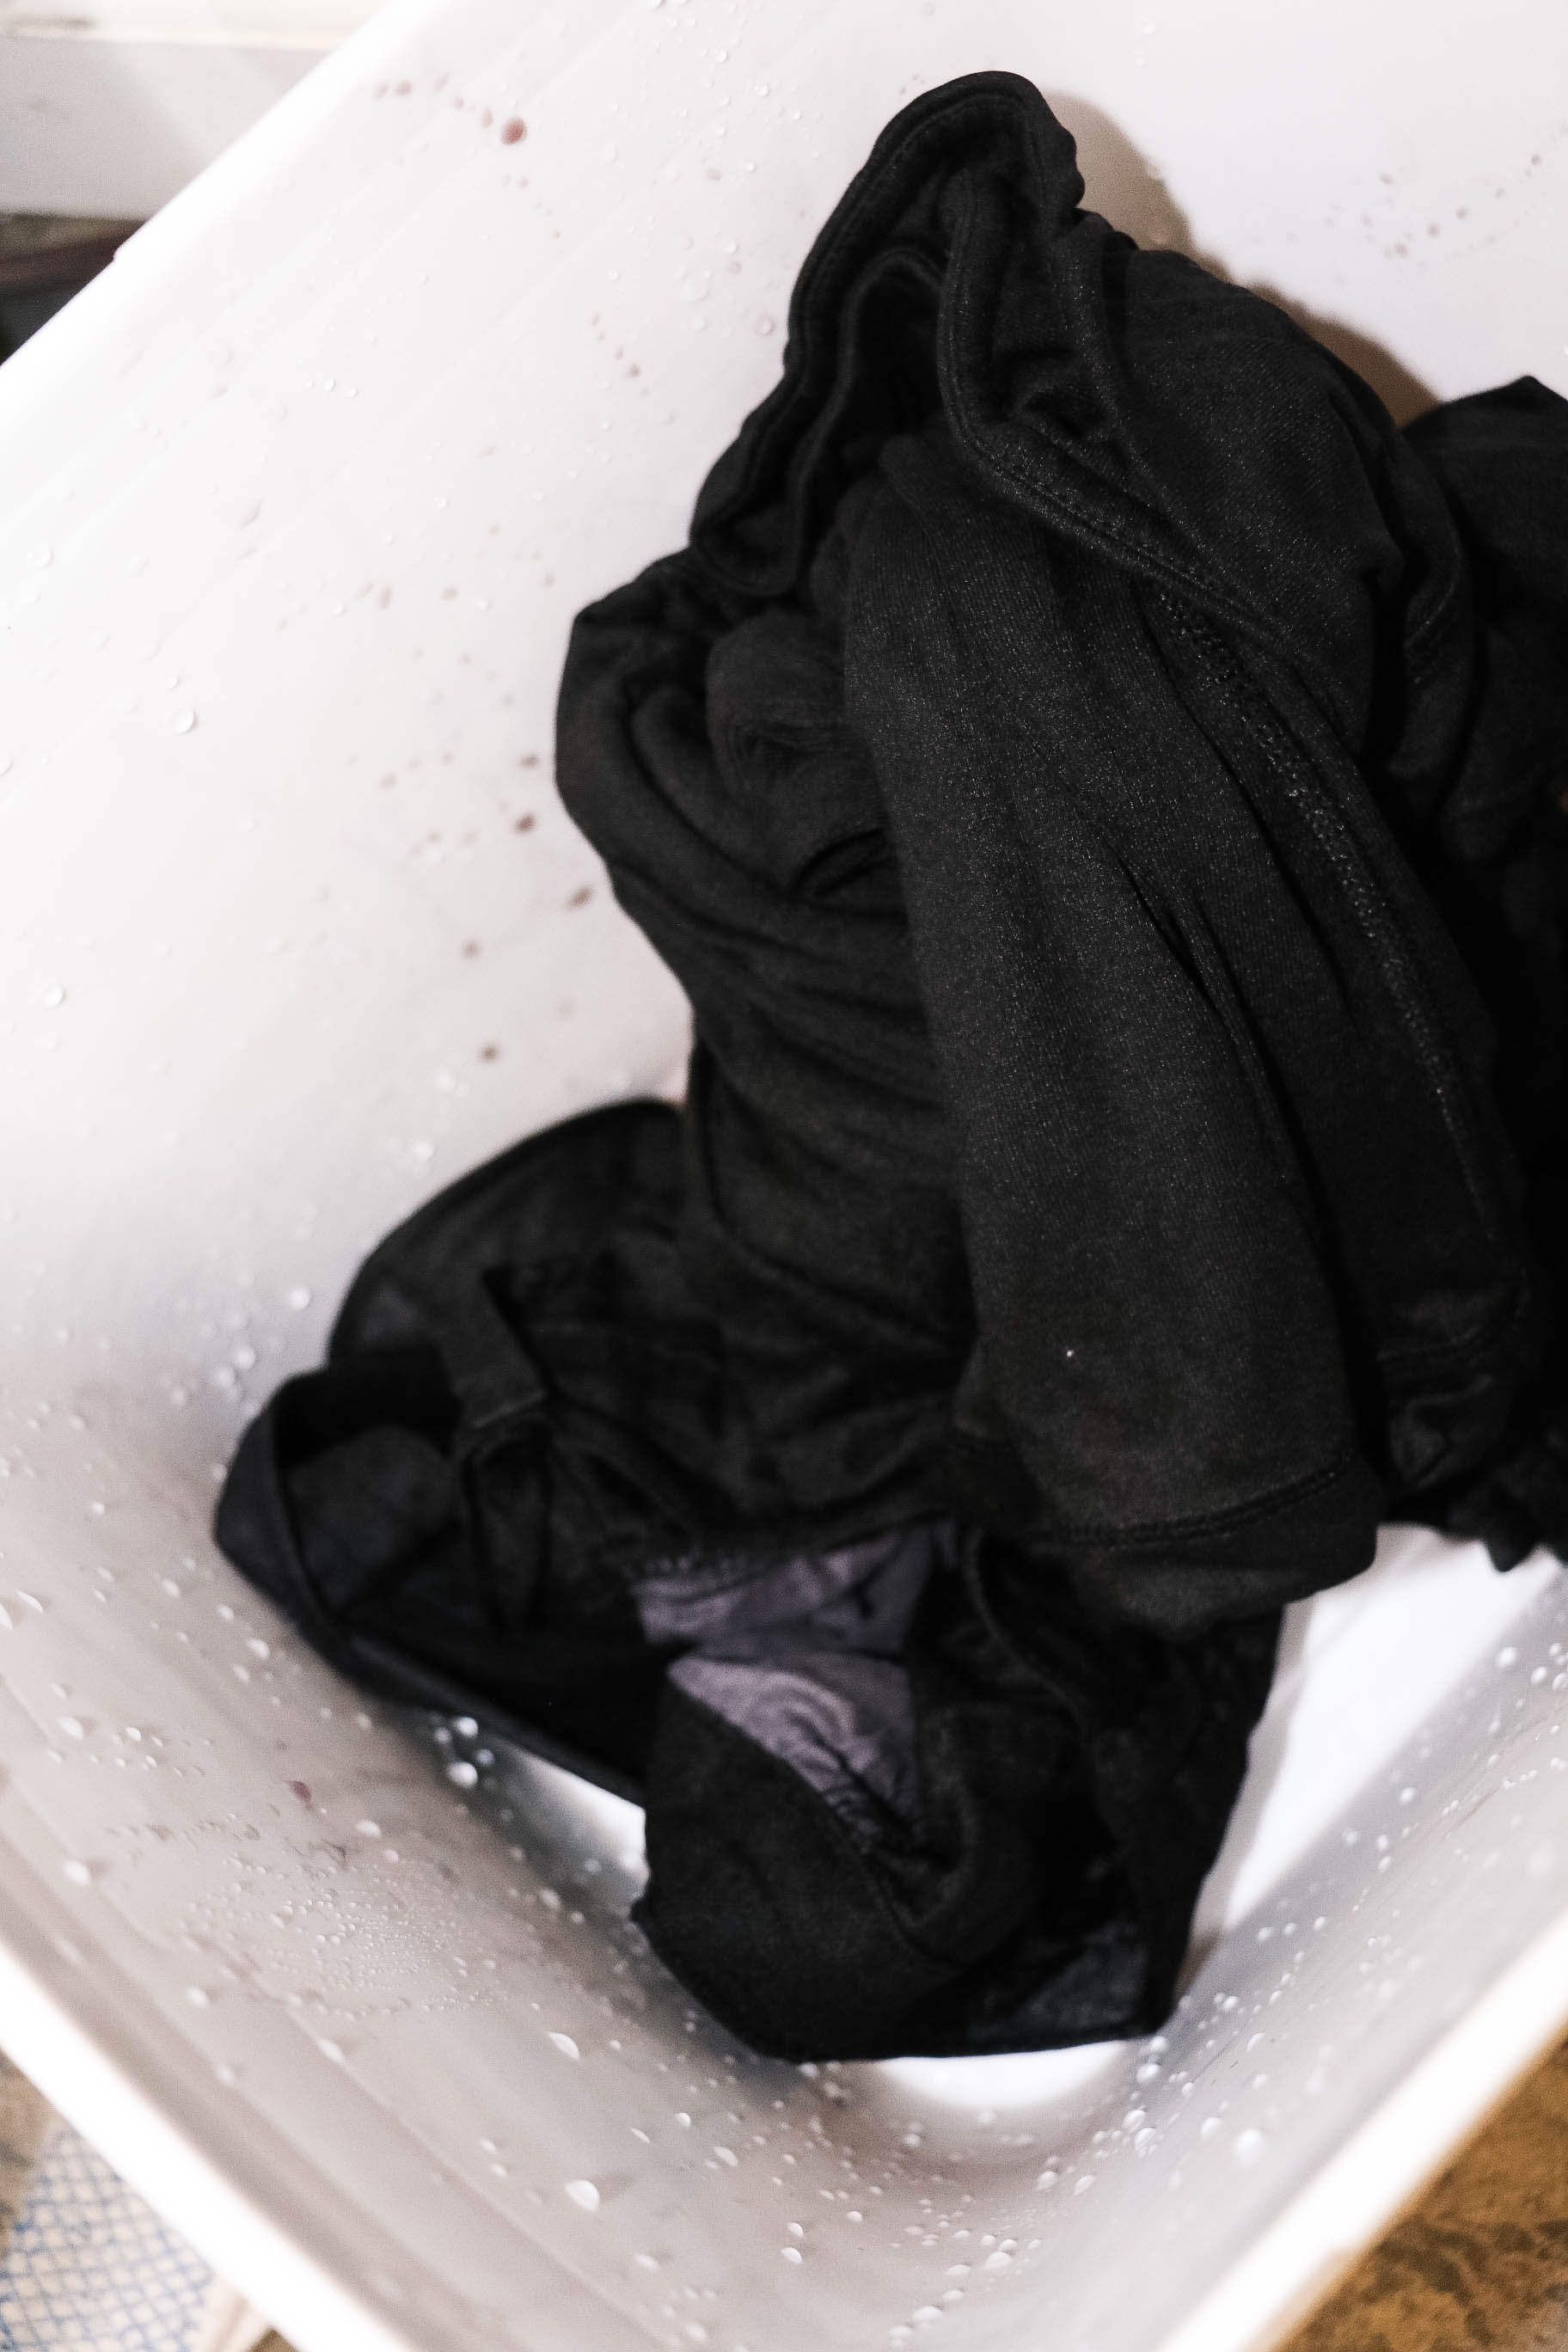 10. Final step, wash in warm water with a mild detergent, rinse and dry.
Skill Level: Beginner
Approximate Crafting Time: 1-2 Hours
Final Product

Before: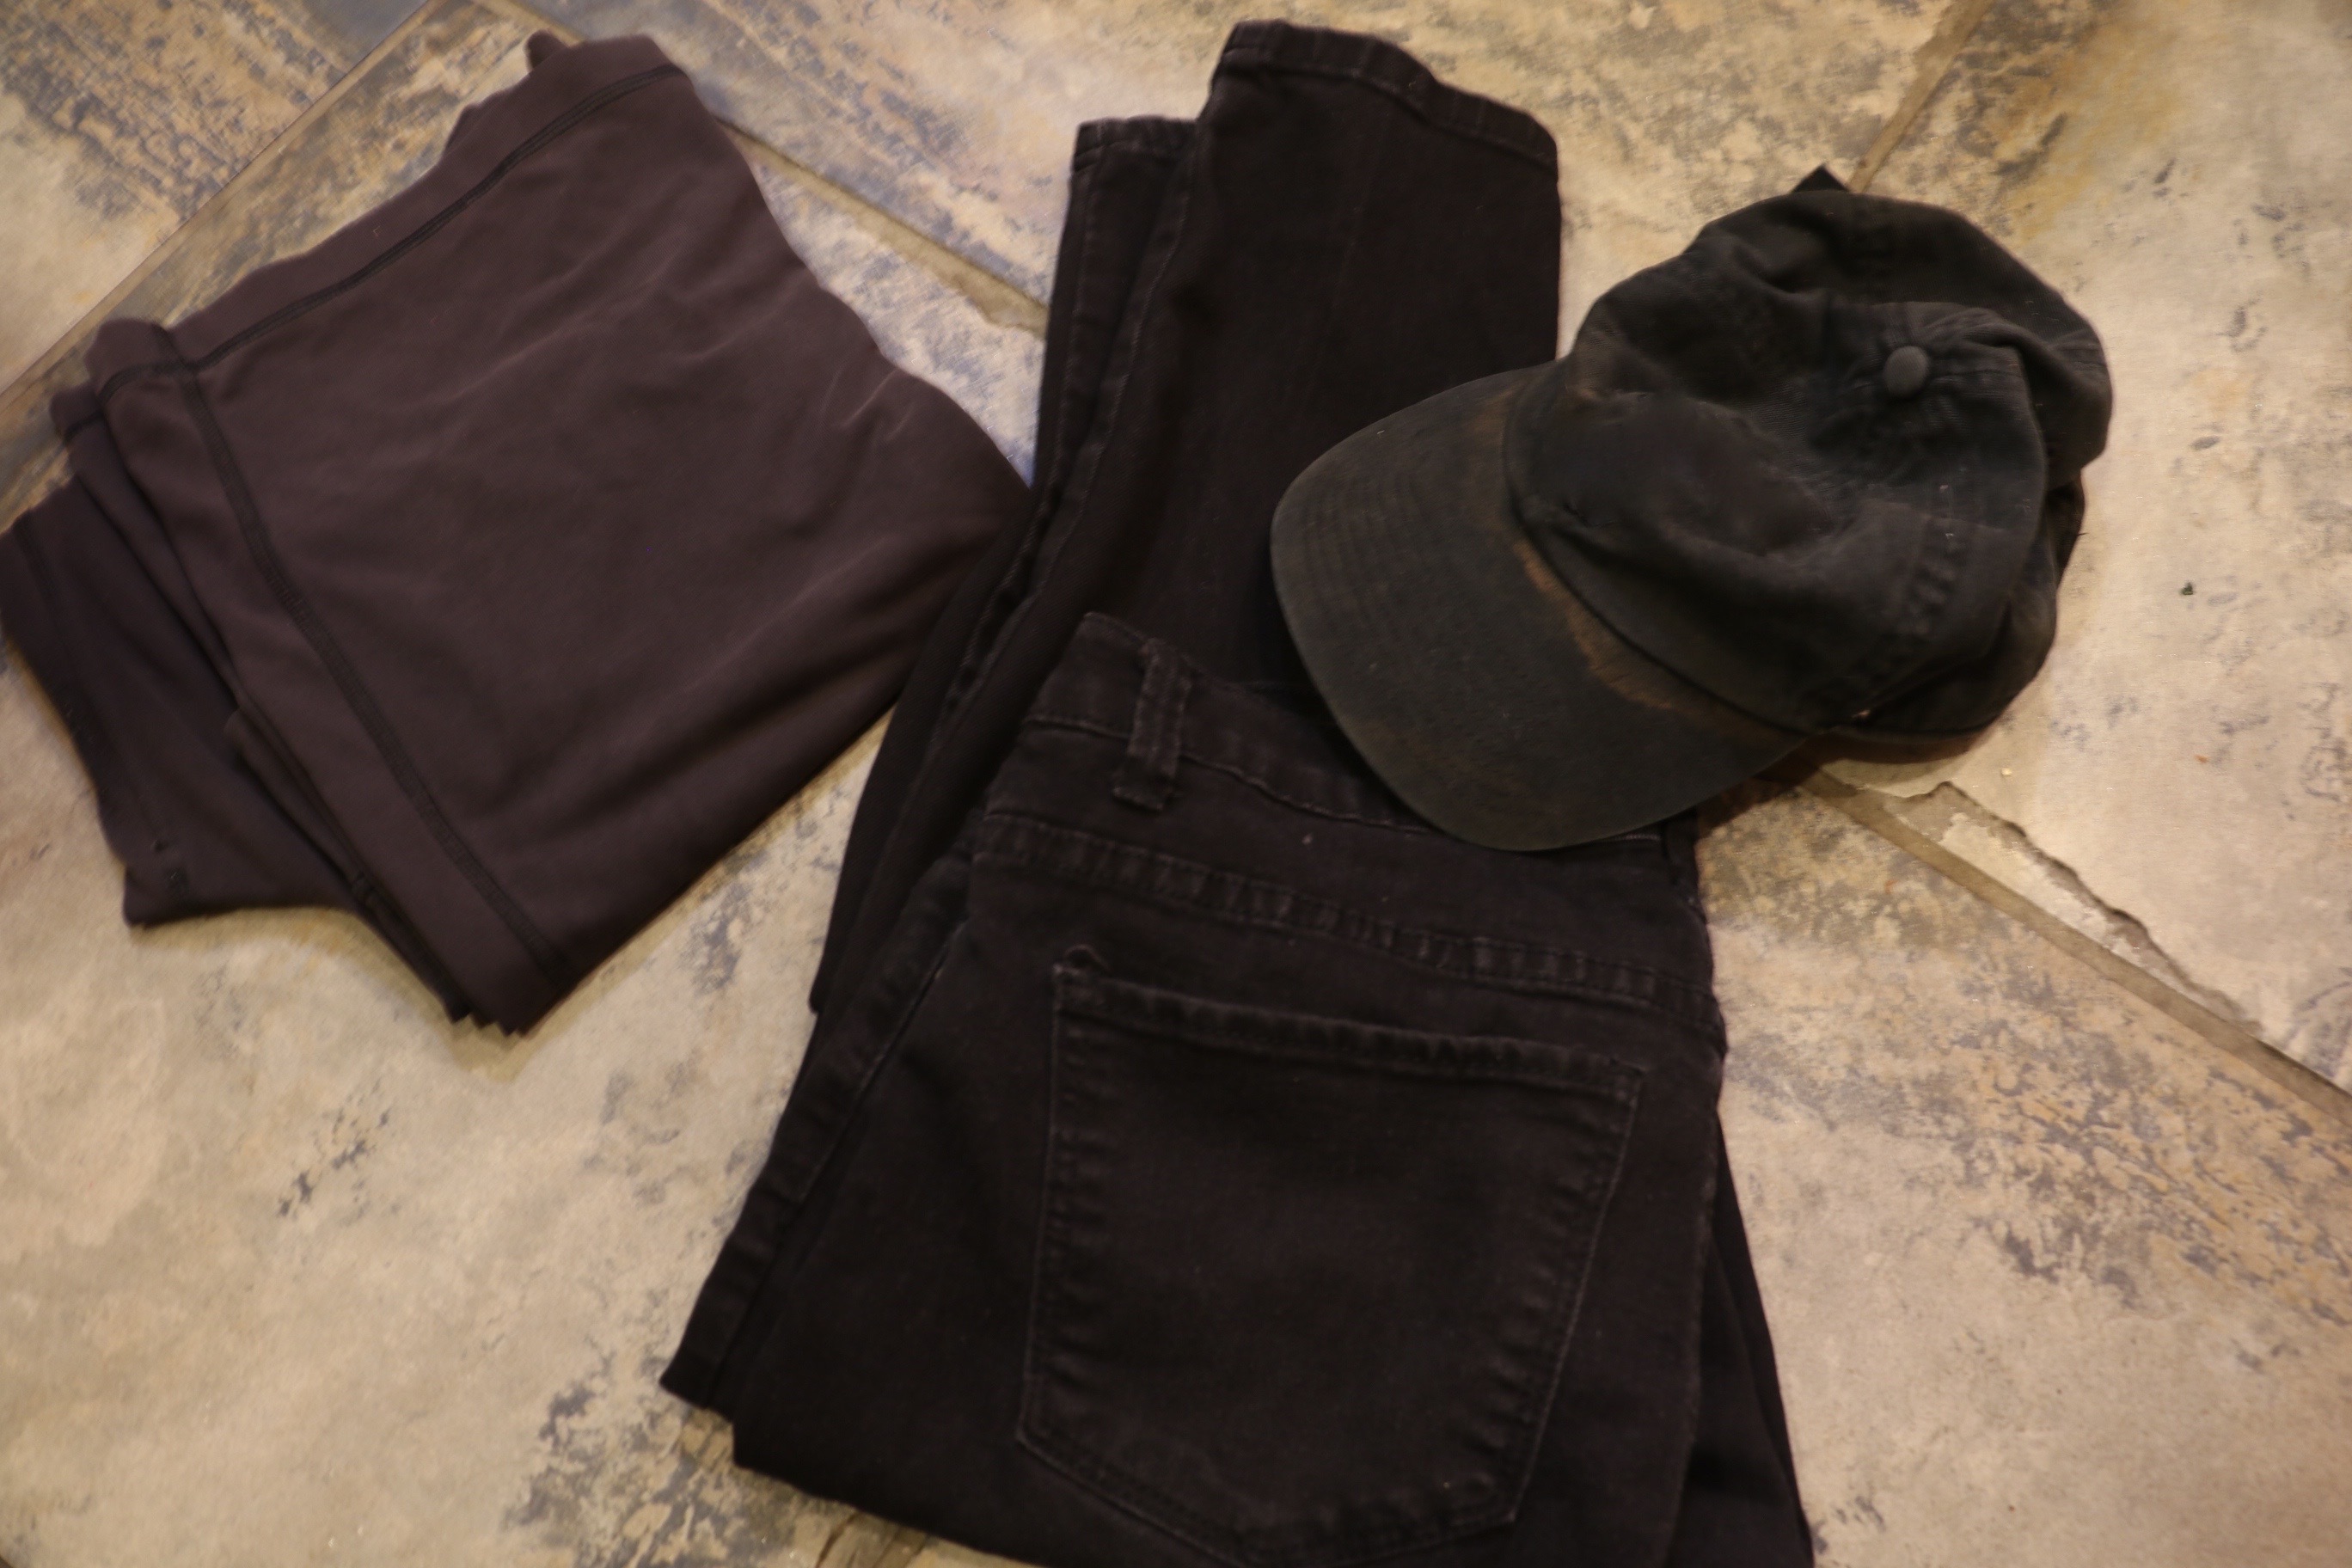
After: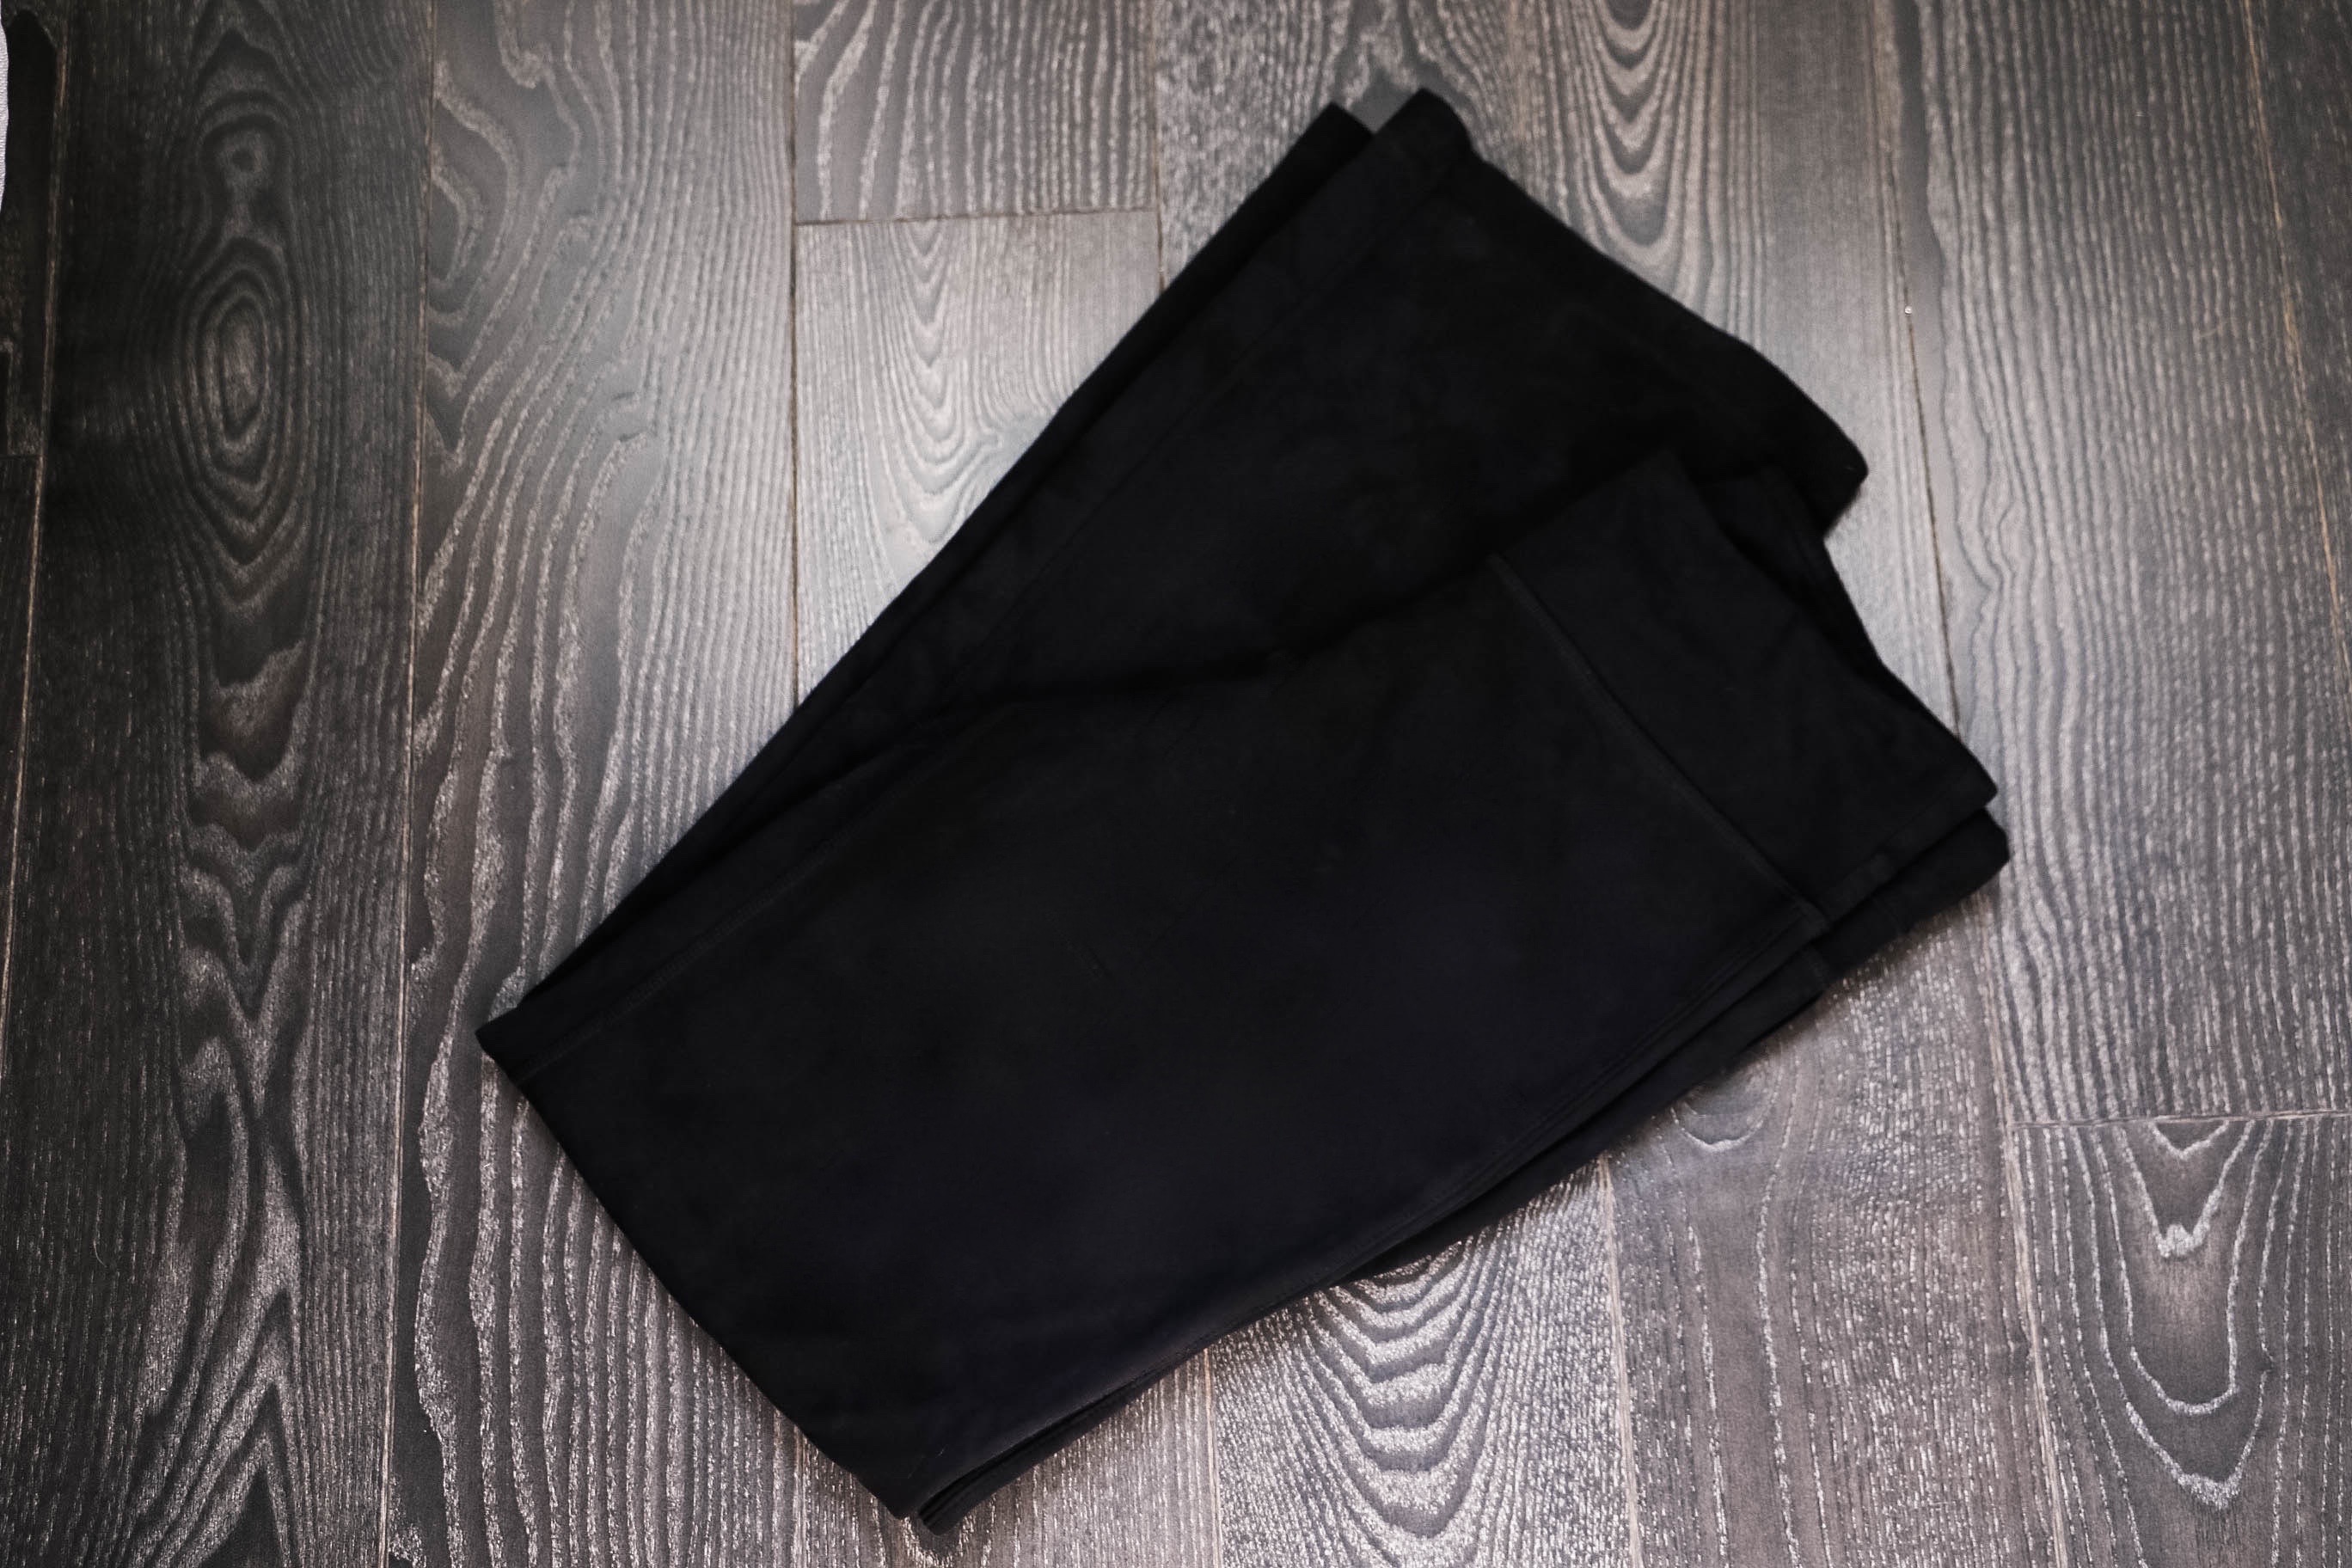
I’ve partnered with @RitDye to bring you this exciting DIY project. This is a sponsored conversation written by me on behalf of Rit Dye. The opinions and text are all mine.